

Before removing copper sink patina, identify the finish and separate ordinary cleaning from polishing, stripping, or repair.
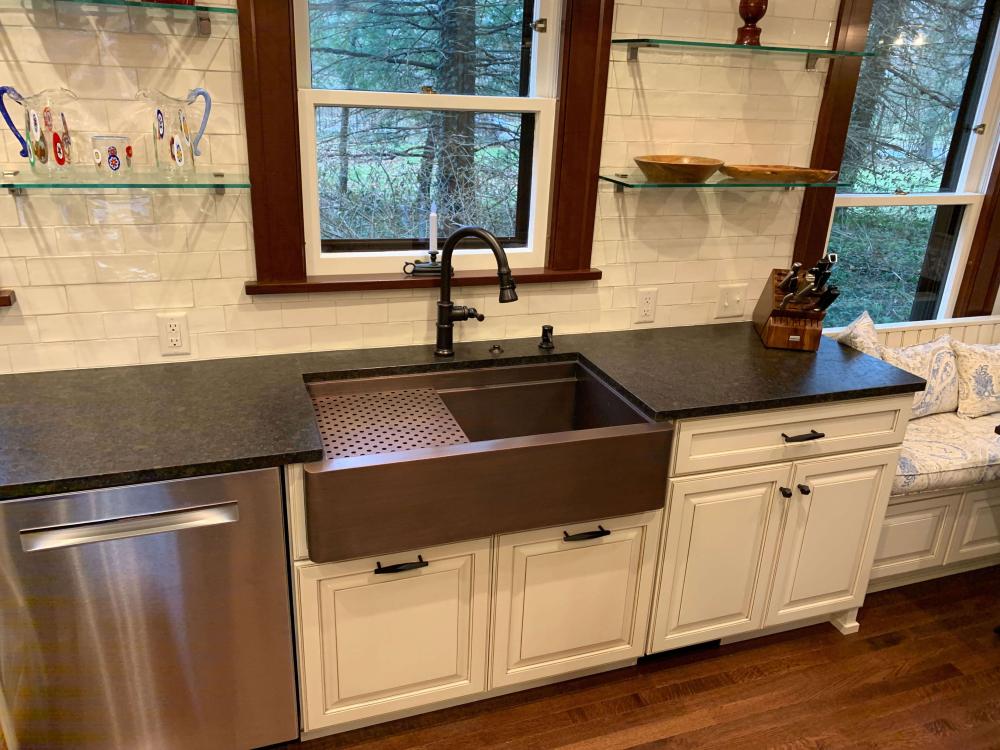
Before treating the basin, identify the selected finish and the manufacturer’s approved care method.
Begin with the manufacturer’s cleaning instructions for the exact finish. Tarnish or patina is not automatically dirt to remove. A living copper basin, a developed rustic patina, and a lacquered surface need different decisions. Avoid sanding, abrasive pads, acidic mixtures, or unapproved sealants as a default treatment.
How to Remove Patina From Three Copper Sink Types
A copper sink can develop changing color through normal use, but the visible surface may also include an applied patina or protective coating. Confirm the order details before choosing a treatment. Appearance alone does not reliably identify the finish.
The Canadian Conservation Institute’s metal guidance distinguishes stable surface change from active corrosion and discusses the importance of understanding a metal surface. In a working sink, product-specific instructions remain the starting point. A conservation treatment for an object is not automatically suitable for a basin.
First decide what you are trying to address: food residue, a water deposit, a lightened area, a scratch, or a damaged coating. Those are different problems. A photograph and the finish specification are more useful to a support specialist than a general request to remove all tarnish.
Addressing a Lacquered Copper Sink’s Patina
A protective coating limits direct contact between the copper and its environment. A scratch through that layer may expose copper metal that changes color differently from the surrounding protected finish. It does not establish that the whole basin needs stripping.
Do not sand, chemically strip, or apply another coating until the manufacturer has assessed the surface. Spot sealing over a scratch may leave a visible difference or interfere with later repair. Provide the product model, finish name, photographs, and the cleaner or substance involved.
- Surface soil: use the approved gentle cleaning method.
- A scratch or peeling layer: request coating-specific repair guidance.
- A proposed full refinish: confirm feasibility, scope, and warranty implications before work begins.
Cleaning a Tarnished Copper Sink With a Rustic Finish
Rustic is an appearance description, not proof of a particular coating or manufacturing method. It may include hammer texture and developed tones. Removing that surface can fundamentally change the finish you chose.
If an area has turned green, do not assume a rustic finish makes this impossible or that every deposit should be scrubbed away. Document the condition and ask what it means for the specific sink. Avoid an electric sander or aggressive polishing as a routine response.
Many owners prefer to clean their tarnished copper sink while retaining its patina. Use CopperSmith’s copper sink care sheet for its living-finish instructions, and obtain separate guidance if your basin has a coating or another finish system.
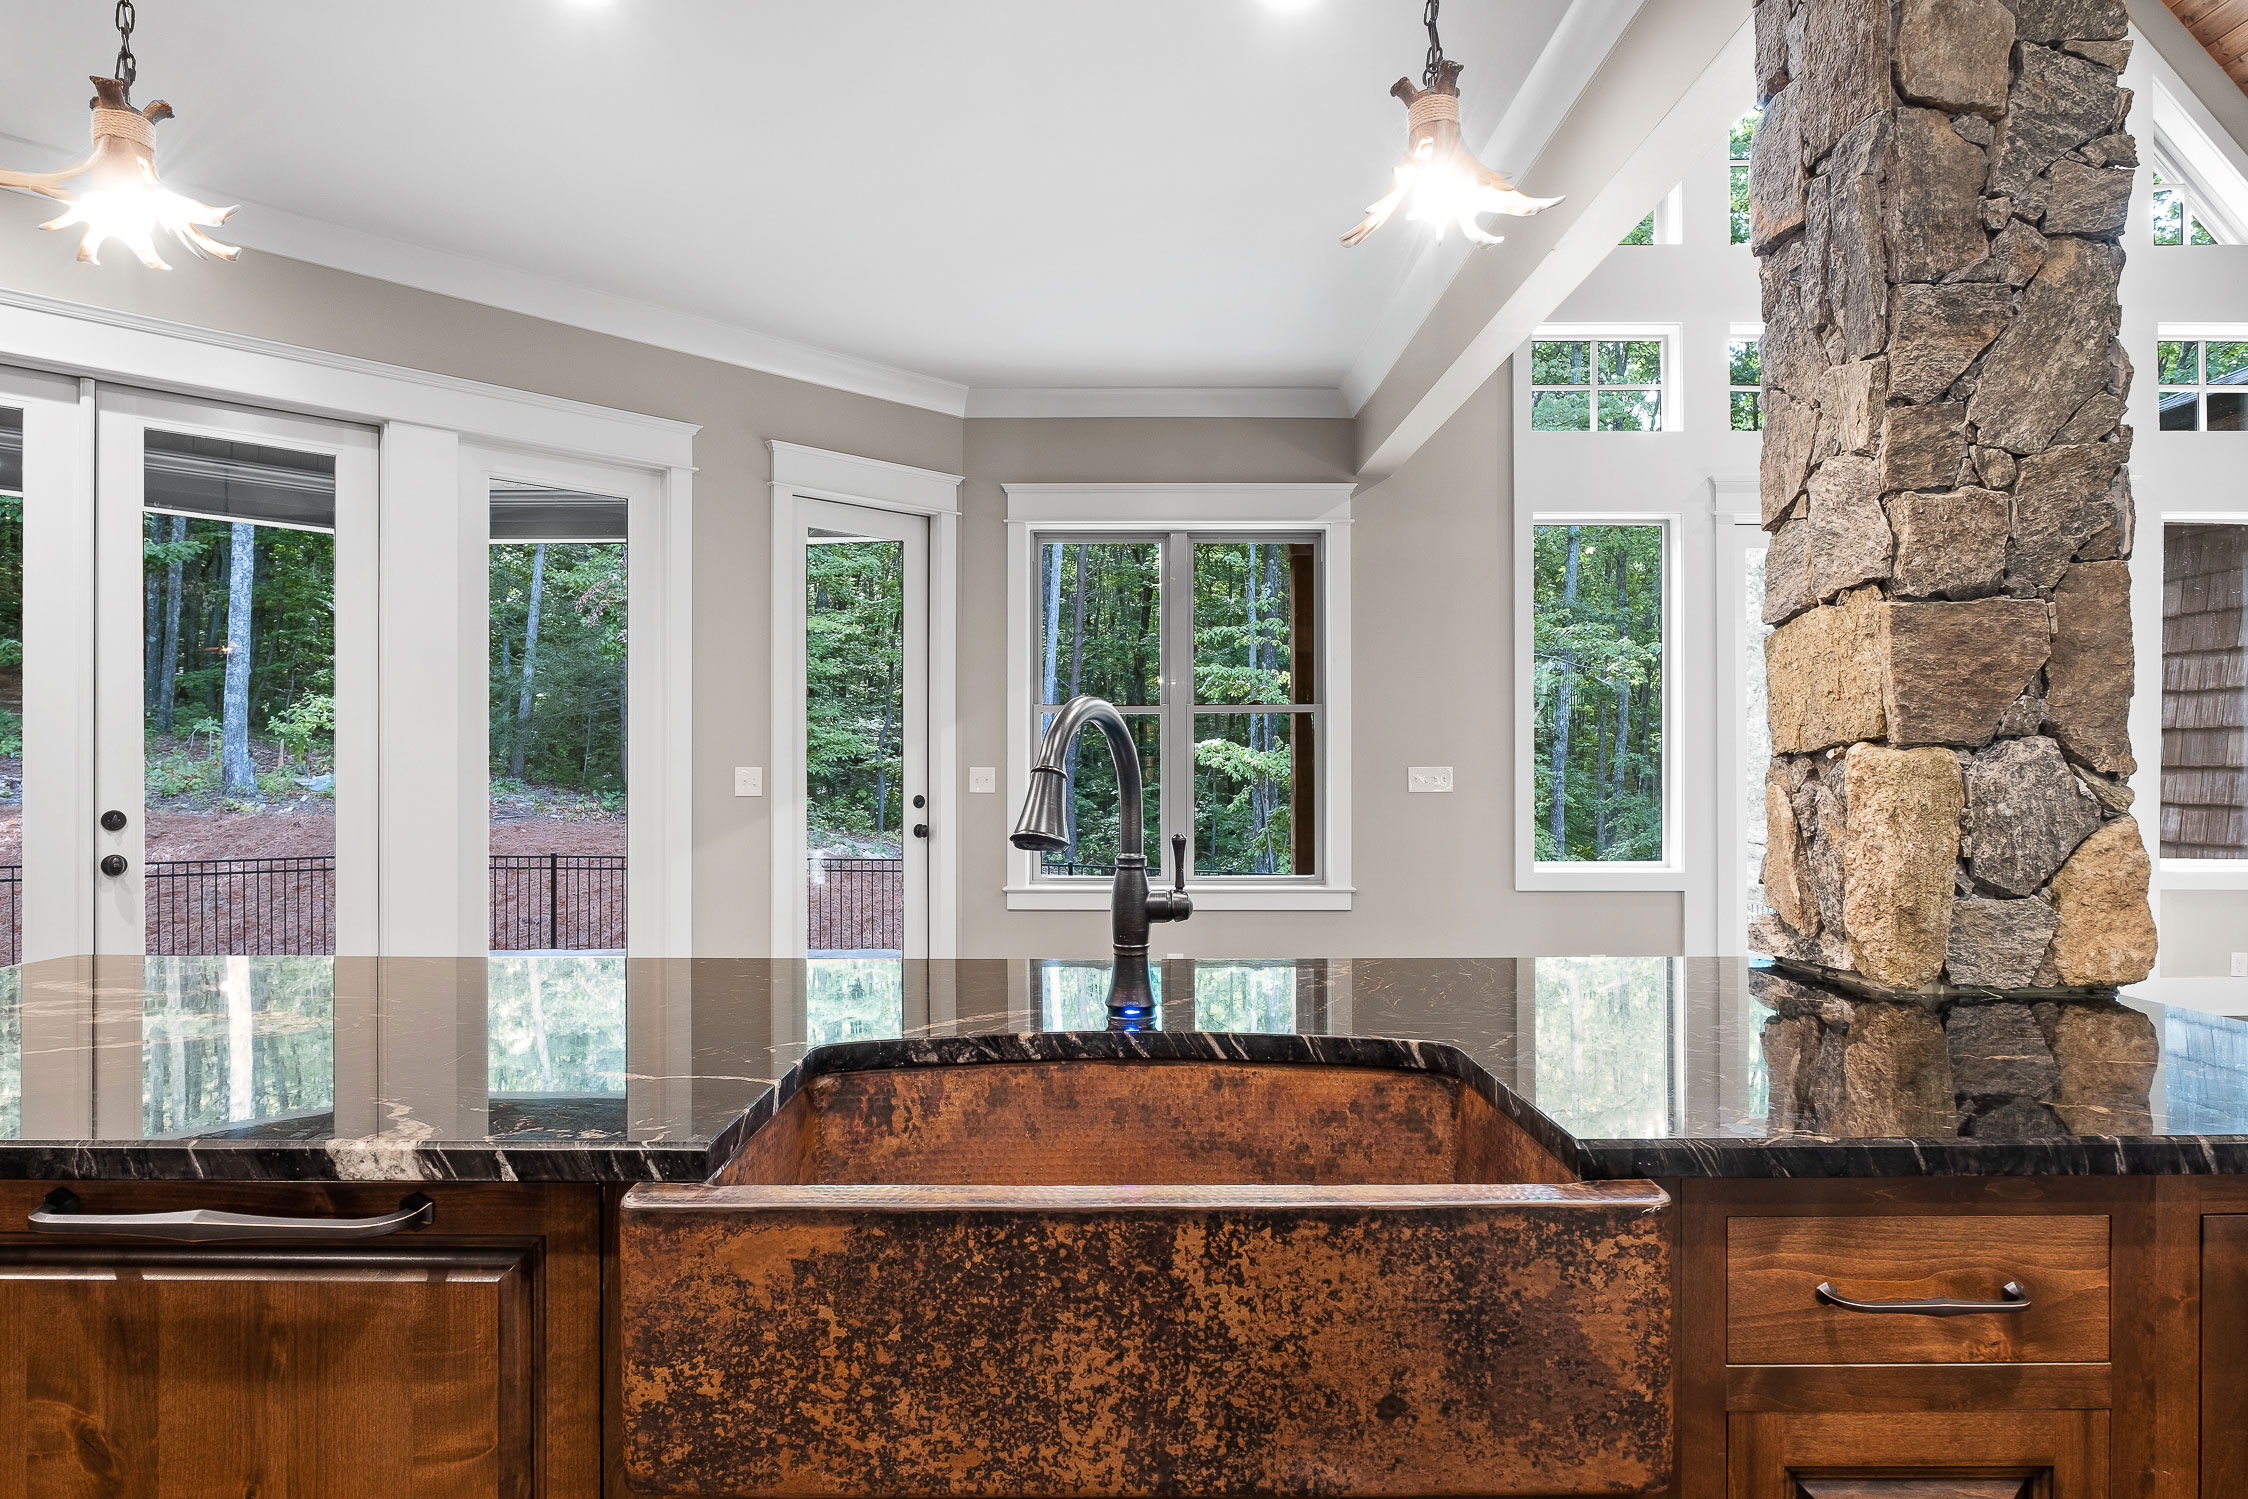
Consider the metal with the cabinetry, work surface, faucet, and other finishes in the room.
Removing a Raw Copper Sink’s Patina
Exposed copper reacts with use and exposure. Removing its existing color does not stop the process from starting again. Decide whether you want to preserve a living surface or pursue a different appearance before selecting a method.
For routine care, the CopperSmith sink sheet recommends mild soap, warm water, and a soft cloth or nonabrasive sponge, followed by rinsing and drying. It advises against metal pads, steel wool, copper polish, and harsh or acidic cleaning mixtures. Salt-and-vinegar pastes and abrasive brightening are not the default instructions for these sinks.
If a consistently bright basin is your goal, ask which finish or material meets that preference and what its care requires. Do not repeatedly remove the selected surface and expect the sink to remain unchanged.
How to Clean Your Copper Sink After Treatment
After any approved treatment, follow the instructions for that resulting surface. Do not assume the previous cleaning or conditioning routine remains suitable. Keep the product and treatment details together for anyone who cleans the sink.
Use a specialized copper wax only when the maker confirms that the product and timing suit the finish. A fixed four-to-six-week schedule does not apply to every copper basin. Wax does not repair a coating or establish that the surface can replace normal hygiene.
- Remove food and cleaner residues promptly.
- Use the approved cleaner and a soft tool.
- Rinse and wipe away standing water as directed.
- Seek advice for persistent deposits, flaking, or physical damage before trying a stronger treatment.
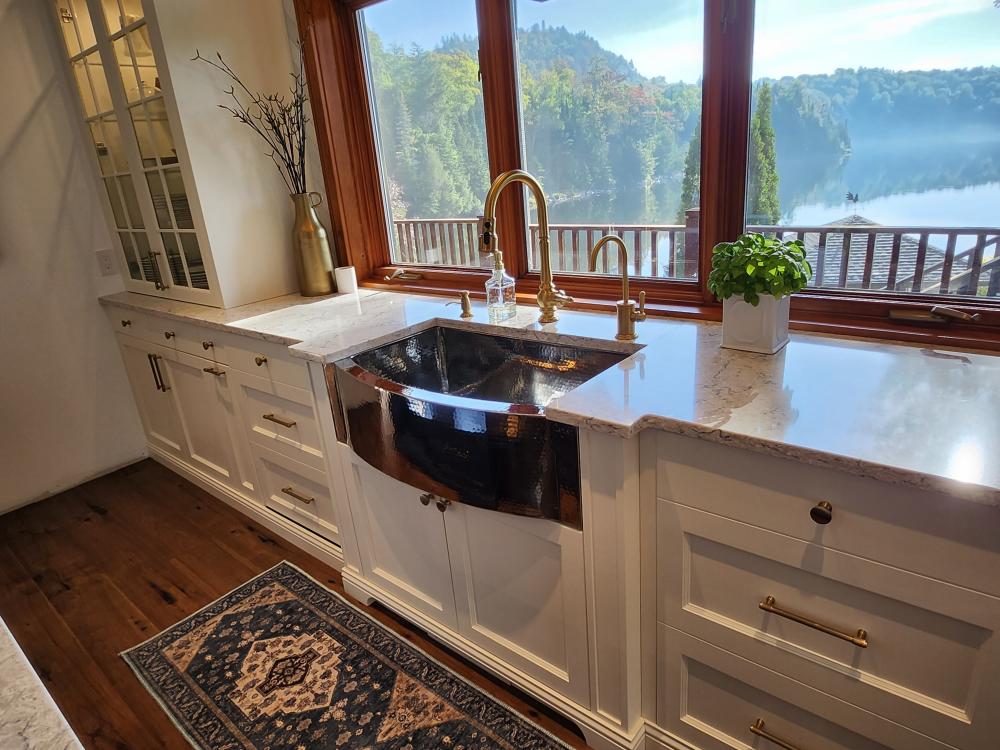
Rinse away residues and dry the surface as directed for the installed finish.
Make the Next Step Specific
Compare the expected appearance with the way the basin will be used. The guide to copper patina explains why a living finish can vary, while the maintenance guide library helps locate product instructions.
If cleaning does not resolve the issue, get in touch with us with the order and finish details. That makes it possible to distinguish ordinary surface variation from a repair question and identify the appropriate next step.
Common questions
Can I use vinegar and salt to remove sink patina?
Do not use an acidic household mixture as a default sink cleaner. CopperSmith’s living-finish sink instructions advise against vinegar and abrasive treatments. Obtain approval for the exact finish.
Will patina return after polishing?
Exposed copper can develop color again. The appearance and timing depend on exposure, use, and the finish; removing patina does not permanently prevent it.
Should I seal a scratch myself?
Confirm the finish and approved repair process first. Applying wax or another coating over a scratch may not restore the original surface.
Is a green deposit proof the sink is ruined?
No. Identify the deposit and finish before drawing a conclusion. Provide photographs and avoid aggressive treatment until the cause is assessed.
Updated October 29, 2026. Published 2025-05-20. Confirm the instructions and specifications for the selected product and configuration.
Define the details around your space.
Identify the finish and the change you are seeing before choosing a cleaning or repair treatment.
Find product care guidance


 By submitting, you agree to our Privacy Policy & Terms