

Copper range hood design begins with two connected decisions: how the hood belongs in the kitchen and how the ventilation system serves the cooking equipment. Profile, proportion, texture, and trim shape the view. Capture, mounting, exhaust routing, and compatible components make the arrangement work.
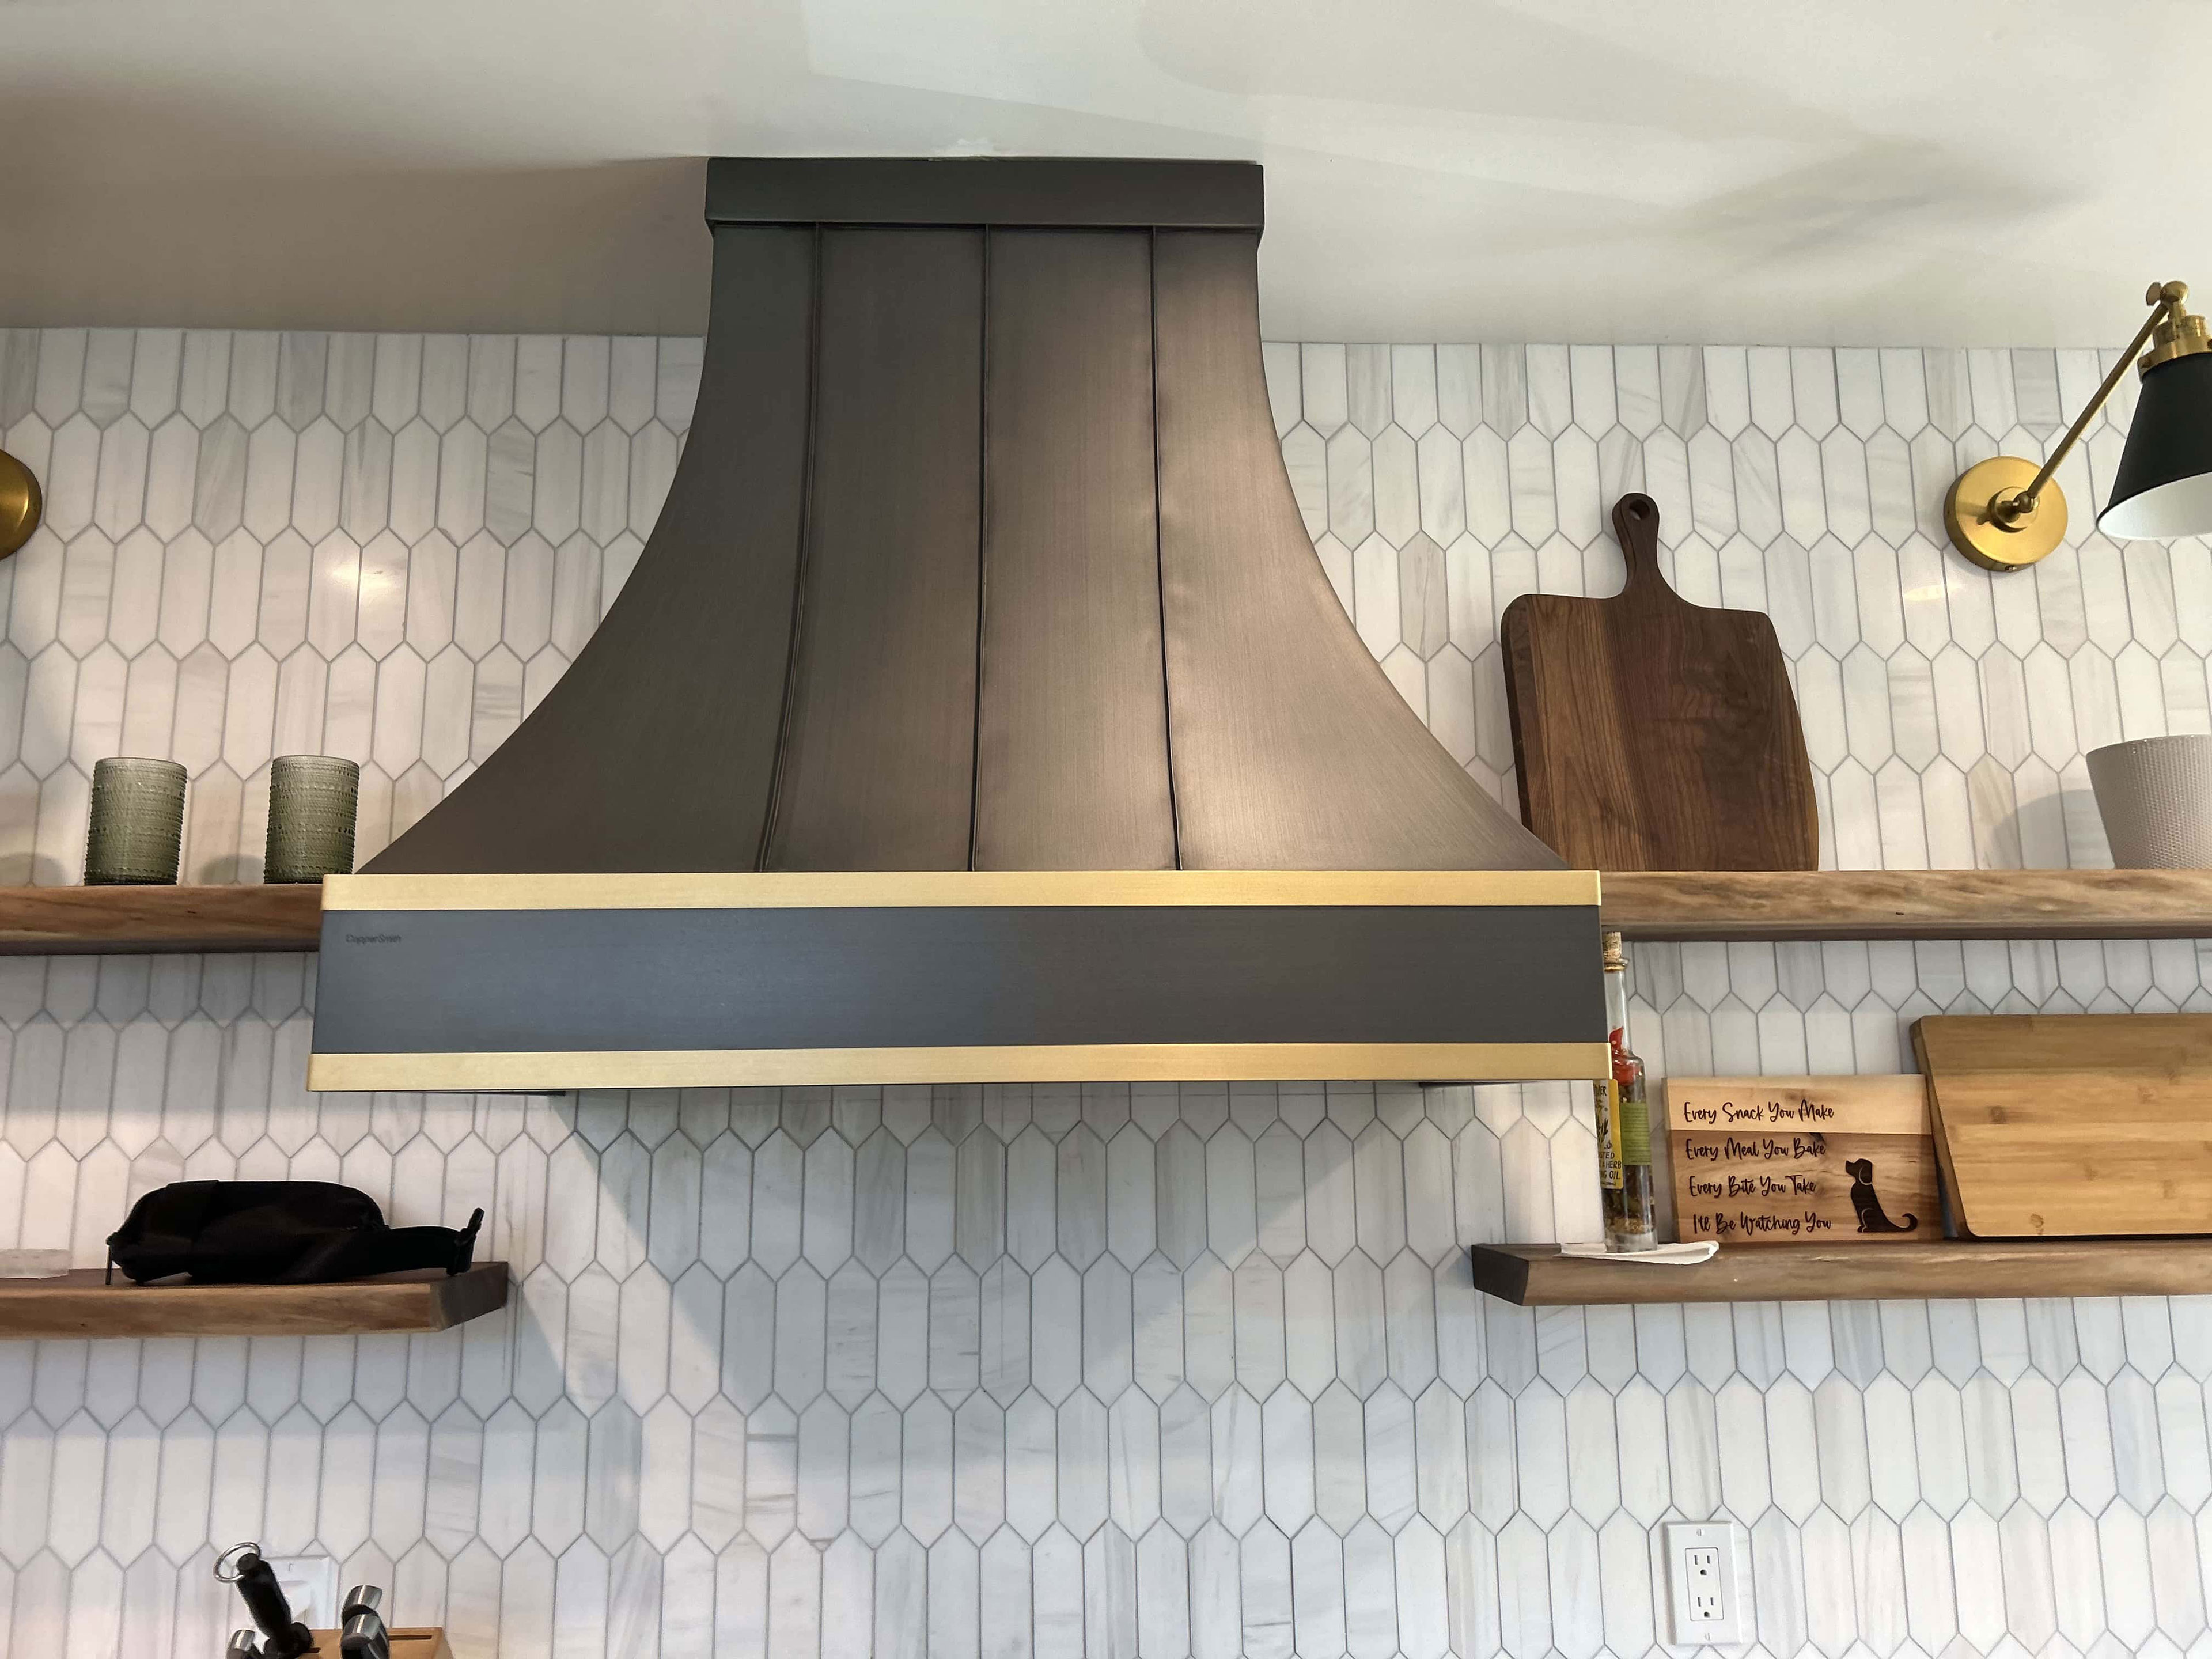
Range Hood Designs and Popular Trends
Treat style descriptions as starting points rather than a prediction of what every kitchen should look like. A curved canopy can create a softer focal point, a straight chimney can reinforce vertical lines, and a compact under-cabinet form can sit within the cabinetry. The right choice follows the space and the equipment.
CopperSmith’s range hood collection lets you compare forms before refining a selected design. Establish the appliance dimensions and intended mounting location early, then evaluate the silhouette from the room’s main sightlines.
Copper Range Hood Design
An exterior shell, insert, blower, duct, and controls perform different roles. Confirm what the selected configuration includes. A wide decorative canopy does not by itself establish the required airflow, and a high airflow number does not resolve a poor capture arrangement or restrictive duct route.
The Pacific Northwest National Laboratory’s kitchen exhaust guide recommends exhausting outdoors, using the manufacturer-specified duct diameter, and planning a direct route with few bends. Those details belong in the design conversation before the visible chimney is finalized.
Attractive Range Hood Designs
Seven ways to organize the hood and duct
1. Exposed chimney to the ceiling
The visible chimney becomes a vertical element. Align its upper termination and proportions with the room.
2. Flush ceiling system
A separate equipment category with its own capture and installation requirements; do not assume a decorative hood can be mounted this way.
3. Partly concealed route to the ceiling
Cabinetry or an enclosure hides part of the route while the visible canopy remains the focal point.
4. Concealed route to the ceiling
Coordinate the enclosure, insert clearances, access, and the actual exhaust path.
5. Exposed partial-height wall route
A visible body can stop below the ceiling while the duct exits through a suitable wall route.
6. Partly concealed wall route
Joinery and the hood profile share the wall elevation; keep service access and duct geometry workable.
7. Concealed partial-height wall route
An integrated arrangement can reduce visual interruption, but it still requires a compatible exhaust design.
These are visual and routing arrangements, not interchangeable mounting instructions. Do not choose a ceiling height or wall outlet solely because a similar arrangement appears in a photograph. Clearances, permitted duct connections, and replacement-air requirements depend on the actual equipment and project.
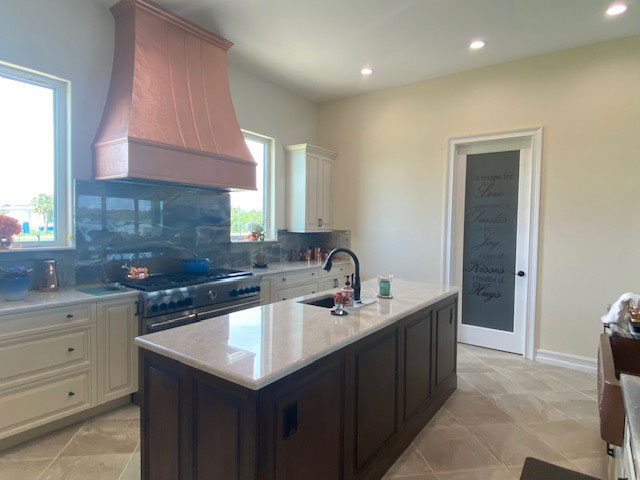
Range Hood Design Trends
A retro direction can use a rounded or scalloped canopy with defined trim. A more restrained kitchen may favor a simple tapered form or a hood integrated with surrounding cabinetry. Stainless steel, mixed metals, and copper can each work in traditional or contemporary spaces; none needs to be assigned to only one style.
For a decorative focal point, select one or two details that carry the design. Straps can emphasize height; a broad apron can define the lower edge; hammered texture changes how light breaks across the surface. Too many equally prominent details can compete with stone veining, cabinet profiles, or lighting.
Choose Proportion Before Decorative Detail
Sketch the hood in the full wall elevation, including the range, upper cabinets, backsplash, and ceiling. Review the canopy’s width and depth for the selected cooking equipment, then decide how the chimney and crown meet the architecture. The approved dimensions must satisfy equipment requirements as well as the desired view.
Use the Artisan AT1 product page as one example of a defined form that can be reviewed through its current configuration choices. Confirm the available options on the selected model; do not assume every strap, crown, material, or finish is offered across the whole collection.
Keep Ventilation in the Design Brief
Cooking can generate indoor pollutants even when the kitchen does not look smoky. Berkeley Lab’s range hood advice emphasizes using a hood and improving capture by cooking on back burners where practical. Daily use matters alongside equipment selection.
Choose controls, lighting, and service access that support regular operation. Ask the installation team to confirm the duct route, compatible components, and any applicable replacement-air requirements. Resolve the practical questions while the cabinetry can still be coordinated.
Frequently Asked Questions
Should a copper hood match the faucet?
It can, but a deliberate contrast may suit the room better. Compare visible tones and finishes beside the cabinetry and stone rather than trying to match metal names alone.
Can the chimney stop below the ceiling?
Some arrangements can. The final form must accommodate the selected equipment, exhaust route, clearances, and mounting requirements.
Does a larger blower make every hood work better?
No. Capture geometry, duct resistance, installation, sound, and replacement air all matter. Select the system for the appliance and project rather than one number.
Use the inspiration gallery to compare proportions in context, then bring your preferred direction and appliance details to the next discussion.
Plan the details for your space
Bring the room dimensions, appliance model, and preferred hood profile so form and ventilation can be resolved together.
Start your projectOriginally published October 20, 2014. Updated October 30, 2026.

 By submitting, you agree to our Privacy Policy & Terms