Replacing a kitchen faucet is a simple yet impactful way to refresh your kitchen. Whether your faucet is leaking, outdated, or part of a broader kitchen upgrade, learning how to replace a kitchen faucet can save you time and money.
How to Replace a Kitchen Faucet Using the Right Tools and Materials

Before diving into the installation, it’s important to gather the necessary tools and materials. Here’s what you’ll need for replacing your kitchen faucet:
-
Adjustable wrench
-
Basin wrench
-
Plumber’s putty
-
Teflon tape (optional)
-
Screwdriver
-
A bucket or a small bowl
-
Towels for cleaning
-
New kitchen faucet
Choosing quality materials, such as a premium kitchen faucet, ensures long-lasting performance and an aesthetically pleasing finish. Having everything you need on hand also makes the installation process smoother and quicker.
Step-by-Step Instructions on How To Install a Kitchen Faucet
Now that you’ve gathered your tools and materials, let’s dive into the step-by-step instructions. These steps will guide you on how to replace a kitchen faucet safely and effectively.
Step 1: Shut Off Water Supply and Prep the Area
The first thing you need to do before replacing your kitchen faucet is to turn off the water supply. Locate the shut-off valves under the sink, which control the water flow to your faucet. Turn both the hot and cold valves clockwise to shut them off. To ensure the water is completely off, turn on the faucet and let any residual water drain.
Once the water is shut off, place a bucket or small bowl under the supply lines to catch any water that remains in the pipes. It’s also helpful to clear out the space under your sink to make working easier, ensuring there’s good lighting so you can see clearly.
Step 2: Remove the Old Faucet
Using a basin wrench or adjustable wrench, loosen the mounting nuts holding the faucet in place. Depending on your faucet’s configuration, you may need to remove the hot and cold water supply lines first. Use your wrench to disconnect them carefully.
It’s important to keep track of the water lines as you disconnect them. Label them if needed, so you don’t mix them up during reinstallation. Use your towel or small bowl for any residual water that might leak from the lines.
Step 3: Clean the Sink Surface
Once the old faucet is removed, take a moment to clean the sink surface. There may be leftover plumber’s putty, silicone, or mineral deposits around the mounting holes. Use a plastic scraper to carefully remove any residue. A mild cleaner will help clean the surface without causing damage.
A clean, dry surface is important for ensuring a proper seal when you install the new faucet. Pay close attention to the mounting holes and make sure there’s no hidden grime or debris. This is also a great time to inspect your sink for any damage that may require a broader upgrade, such as replacing the kitchen sink.
Step 4: Install the New Faucet
Begin by inserting the faucet into the mounting holes. Depending on your sink, it may be a single-hole or three-hole setup. If you have a three-hole sink, you may need an escutcheon, which is a decorative plate that covers the unused holes.
Next, apply plumber’s putty or silicone around the base of the faucet to create a watertight seal. Insert the faucet into the holes and secure it with the provided nuts or brackets. Be sure to tighten the connections by hand first, and then use your wrench to give it a final, careful tightening. Be cautious not to overtighten, as this could damage the sink or faucet.
Step 5: Reconnect Water Lines and Test
With the new faucet installed, it’s time to reconnect the water lines. Attach the hot and cold supply lines to the new faucet and hand-tighten the connections. Use Teflon tape on the threaded joints if necessary to prevent leaks. It's important to tighten the connections without overdoing it, to avoid damaging the threads.
Next, turn the shut-off valves back on slowly to avoid any pressure surges. Once the water is turned back on, check for any leaks around the faucet base and water supply line connections. Run both hot and cold water for a few minutes to flush out any debris that might have accumulated during installation. Double-check all fittings to ensure everything is properly secured.
How To Install a Kitchen Sink Faucet on Different Sink Types
How you install a kitchen sink faucet can vary depending on the type of sink you have. For single-hole sinks, the installation process is straightforward as the faucet typically mounts directly to the sink surface. For three-hole sinks, you’ll need to secure the faucet with the mounting nuts provided, and you may use an escutcheon to cover the extra holes.
For undermount, drop-in, and farmhouse sinks, there are slight variations in how the faucet sits on the sink surface. Follow the manufacturer’s instructions for these configurations.
If your current sink is outdated or damaged, this may be the perfect opportunity to upgrade both your sink and faucet at once. Coordinating your design ensures the faucet fits perfectly and complements the overall style of your space. To avoid any surprises, be sure to estimate your sink replacement cost before you begin.
Whether you’re installing into granite, quartz, or a standard drop-in surface, always measure carefully and choose high-quality faucets and sinks for kitchens that are built to last.
How To Choose the Right Faucet Style for Your Kitchen
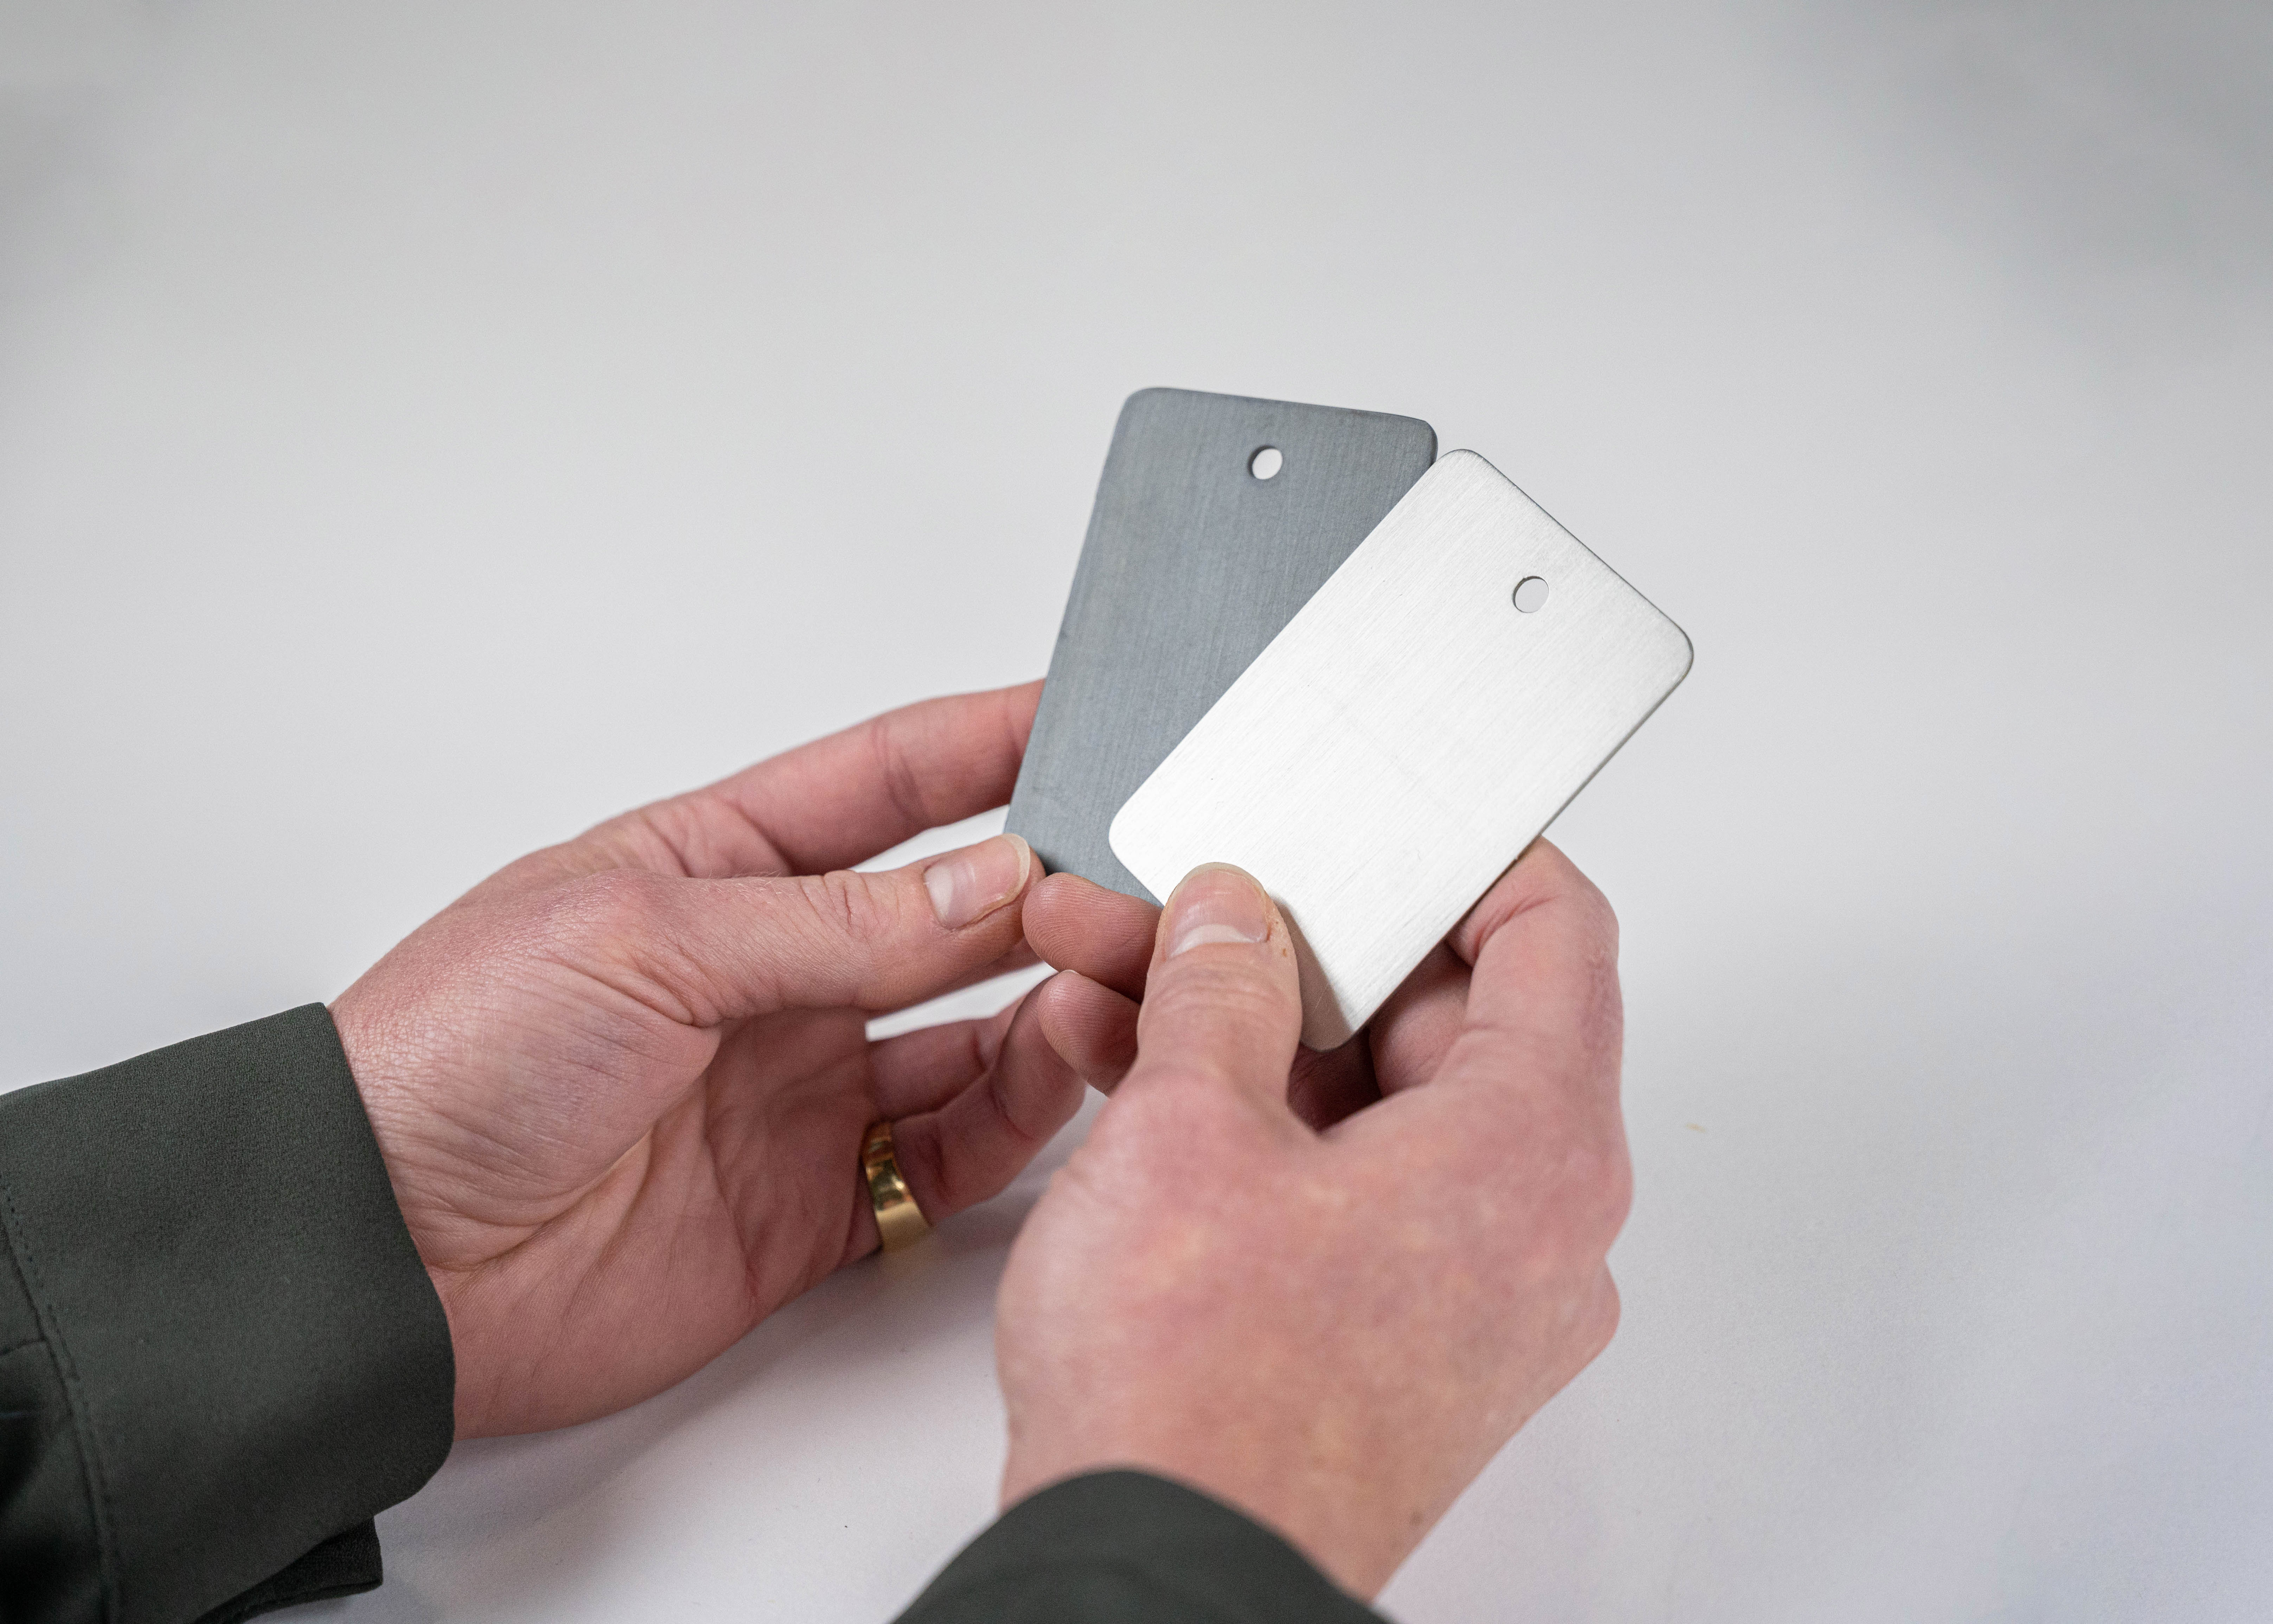
Selecting the right kitchen faucet goes beyond function; it’s a design decision that impacts your daily routine and overall kitchen aesthetic. Start by matching the faucet finish (like brushed nickel, matte black, or copper) to your cabinet hardware or sink.
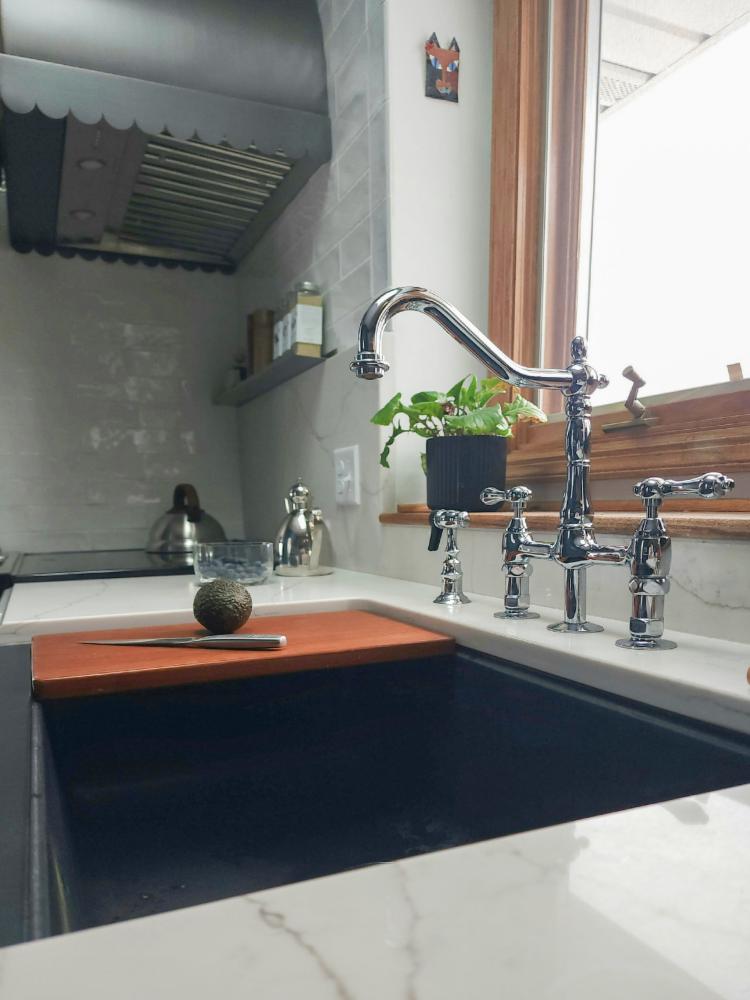
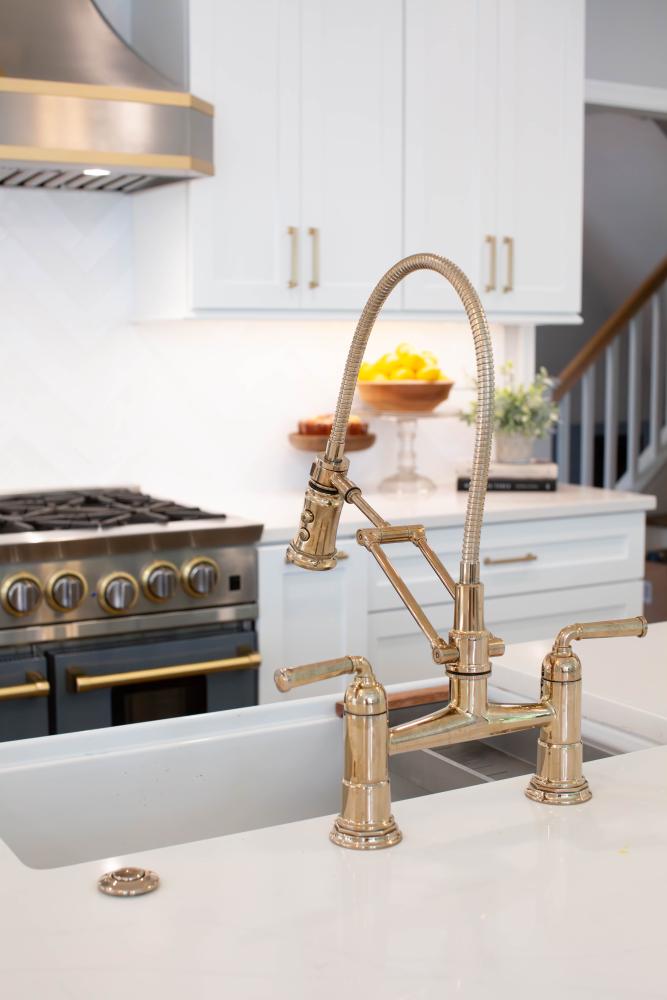
Consider features like pull-down sprayers, touchless sensors, or dual handles. Taller spouts are ideal for deep pots, especially when paired with farmhouse sinks. And if you cook frequently, a matching pot filler adds both elegance and convenience. Select a style that complements your sink and suits your lifestyle.
Replacing a Kitchen Faucet Using Luxury Items From World Coppersmith
While learning how to replace a kitchen faucet, explore the collection at World CopperSmith. Their range of faucets and kitchen sinks provides both aesthetic appeal and long-lasting durability.
Whether you’re renovating your kitchen or simply updating your faucet, CopperSmith offers high-quality options that can elevate your kitchen design. Contact World CopperSmith today to find the perfect faucet for your kitchen renovation.