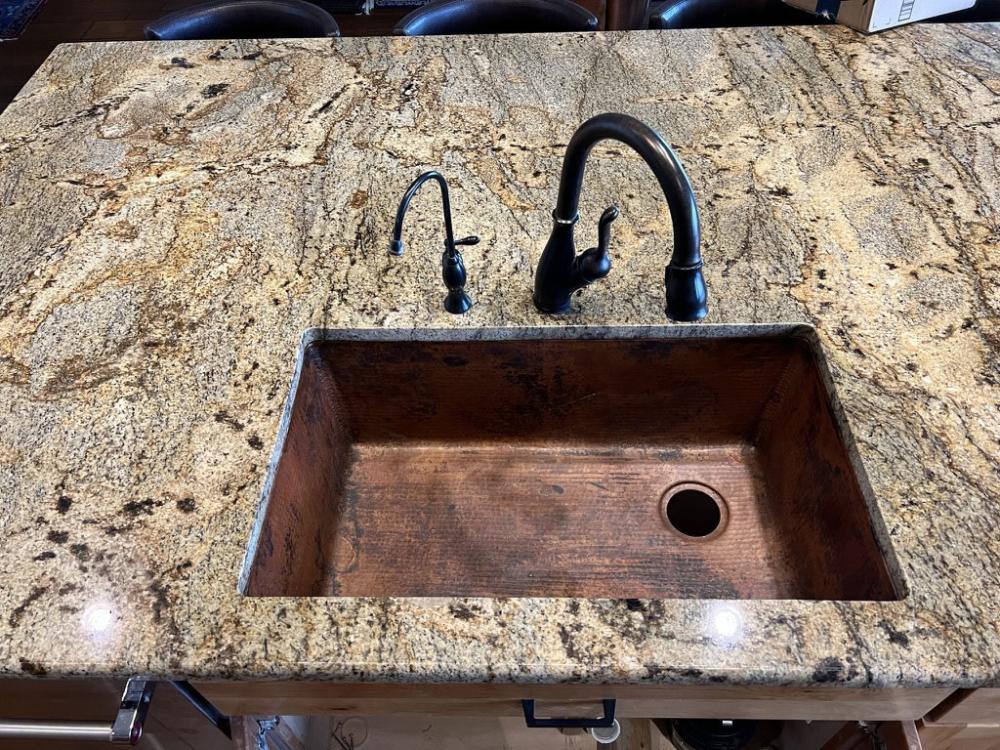
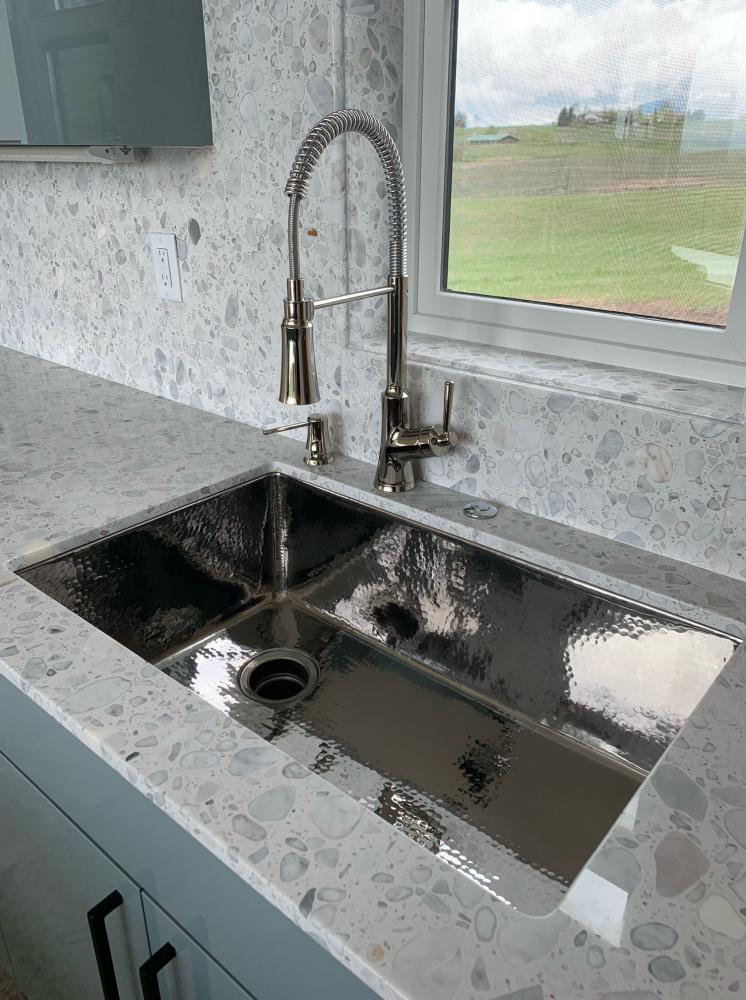
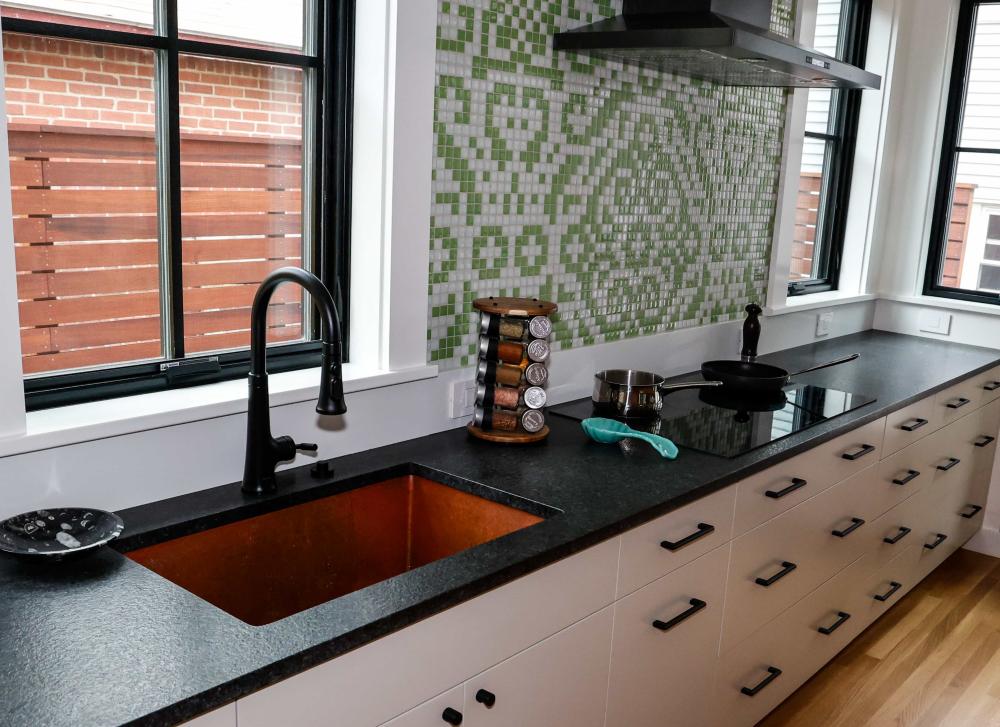
When designing a kitchen or bathroom, choosing the perfect sink is a big decision. Unlike drop-in sinks, which rest on top of the counter, undermount sinks are mounted beneath the countertop, creating a seamless, smooth surface, making it easier to wipe crumbs, spills, and debris directly into the sink.
Undermount sinks are increasingly popular in high-end kitchens and bathrooms due to their elegance and functionality. Learning how to install an undermount sink will help you decide whether it’s worth hiring a professional or if you’re up for the DIY challenge
In this guide, we’ll walk you through the process of installing an undermount sink, providing you with the knowledge needed to make an informed decision.
Can You Install an Undermount Sink Yourself?
Yes, you can install an undermount sink yourself if you're up for the challenge. Be aware that the installation process requires precision and patience. You’ll need to carefully follow each step to ensure the sink is properly secured, aligned, and sealed.
While the process can be more complex than installing a drop-in sink, the satisfaction of completing a DIY installation is well worth it. Plus, taking the DIY route can save you a significant amount of money, especially if you’re in the middle of a home-building or renovation project.
Consider the potential savings compared to a professional installation, as hiring an expert can significantly increase your kitchen sink replacement cost. If you're not confident in your ability to install the sink yourself or you simply prefer to leave it to the experts, hiring a professional installer is always an option. However, with the right tools and attention to detail, many homeowners find that DIY installation is not only possible but also quite satisfying.
What Tools Will You Need for the Job?
Proper preparation and the right tools will make the installation process much easier and more efficient. Along with the sink itself and the brackets to hold it in place, here’s a breakdown of the tools you’ll need for removing your old sink and installing the new one.
Tools for Removing the Old Sink
-
Screwdriver – To remove clips or brackets securing the sink.
-
Utility Knife – To cut through adhesive or caulking.
-
Plumber’s Wrench – To disconnect plumbing fixtures.
-
Pry Bar – To gently separate the sink from the countertop without damaging the surface.
-
Bucket or Towels – To catch residual water when disconnecting plumbing.
Starting with the proper tools will help reduce frustration during sink removal.
Tools for Installing the New Undermount Sink
-
Measuring Tape – To ensure accurate placement of the new sink.
-
Drill and Screws – For securing the sink clips or brackets to the countertop.
-
Adhesive – A high-quality adhesive designed for undermount sinks.
-
Sealant – To seal the perimeter of the sink after installation.
-
Caulking Gun – For applying adhesive and sealant evenly.
-
Level – To ensure the sink is perfectly aligned.
-
Clamps/Braces – To hold the sink in place while the adhesive cures, ensuring a strong bond. There are clamps and braces specifically made for undermount sink installations.
Having these tools on hand will ensure the installation goes smoothly, with no last-minute trips to the hardware store.
How Do You Remove Your Old Sink?
If you’re installing a sink on a new countertop, skip to the step-by-step guide.
Removing an old undermount sink requires a careful approach to prevent damage to the countertop, surrounding cabinetry, and the sink itself. Replacing your undermount sink without removing the countertop is possible, but it will be more difficult the larger and heavier your sink is. It can be challenging to figure out how to fit an undermount sink through existing cabinetry. The process for removing a drop-in sink will be slightly different, but most of the instructions apply to both.
1. Turn off the Water Supply and Disconnect the Plumbing
Before beginning, turn off the water supply to the sink. Disconnect the plumbing, including the drain and faucet connections. Place towels or a bucket underneath to catch any residual water that may be left in the pipes.
2. Remove the Sink Clips and Brackets
Undermount sinks are typically secured to the countertop with clips or brackets. Use a screwdriver to remove these fasteners. Be careful not to damage the countertop or the sink itself if you plan on reusing it. If the clips are difficult to remove, consider using a small pry bar to gently loosen them.
3. Cut the Adhesive
Most undermount sinks are held in place with adhesive. Use a utility knife to carefully cut through the adhesive around the sink’s edges. Cut as close to the countertop as possible to minimize the amount of adhesive residue left behind. Gently pry the sink loose from the countertop using a flat tool to avoid cracking the surface.
4. Support the Sink Down Carefully
For undermount sinks, carefully support the sink as you gently lower it downward, making sure it doesn’t fall or shift abruptly. You might need assistance here, as undermount sinks can be heavy.
5. Prepare the Surface for the New Sink
Once the old sink is removed, clean the area thoroughly to ensure the new sink will adhere properly. Remove any remaining adhesive, caulk, or debris from the countertop surface. You may need to smooth out the edges of the countertop hole to accommodate the new sink. Make sure the surface is clean, dry, and level to ensure a perfect installation for the new undermount sink.
Step-by-Step Guide: How Do You Install an Undermount Sink?

Installing an undermount sink is a precise and technical process. Working with a countertop that hasn't yet been attached to cabinetry is ideal for easier installation, but it can still be done if that’s not your situation. By following each step carefully, you can achieve a professional-looking result.
Be aware that there are various support and holding mechanisms designed for undermount sinks. Your brackets may be installed differently, so follow any manufacturer instructions first. Below, we’ve broken down the basic steps to guide you through the process.
1. Prepare the Countertop and Sink Area
Before you start the installation, it’s important to thoroughly prepare the countertop and sink area. This step includes cleaning, measuring, and ensuring the space is ready for the new sink.
-
Clean the Countertop: Remove any debris or remnants of adhesive from the previous sink. This ensures a smooth surface for the new sink to adhere to.
-
Measure the Sink Opening: Use the measuring tape to double-check the dimensions of the sink opening. The sink should fit snugly into the hole, with no gaps around the edges. If necessary, adjust the opening slightly to ensure a perfect fit.
-
Mark the Position: If necessary, use a template to mark the position of the sink on the countertop. This helps you align the sink perfectly when it’s time to secure it.
With these preparations complete, you’re setting the stage for a smooth and successful installation.
2. Install the Undermount Sink Clips and Brackets
To properly and safely mount an undermount sink, clips or brackets are usually required to hold it in place. These clips are typically installed on the underside of the countertop or on the side of the cabinetry.
-
Attach the Clips: Secure the sink clips or brackets to the underside of the countertop using screws or strong epoxy depending on your countertop material. Make sure they are evenly spaced and aligned. The clips should be placed approximately 2-3 inches in from the edge of the sink’s opening.
-
Check Alignment: Use a level to ensure that the clips are positioned correctly, allowing for an even fit when the sink is placed.
-
Double-Check Tightness: Make sure all clips or brackets are tightened sufficiently to hold the sink securely, but avoid over-tightening, which could damage the countertop.
For granite or other stone countertops, ensure the epoxy adhesive has fully set before moving to the next steps.
3. Apply Adhesive and Position the Sink
Applying adhesive is one of the most crucial steps in installing an undermount sink. The adhesive ensures that the sink stays firmly attached to the countertop.
-
Apply the Adhesive: Use a caulking gun to apply a generous amount of adhesive around the edge of the sink’s rim. Ensure an even coating to avoid weak spots.
-
Position the Sink: With the sink underneath the countertop opening, align it with the marked position. You’ll likely need help with this part, especially with heavier sinks. Carefully raise the sink into place, ensuring it fits snugly against the underside of the countertop.
-
Clamp the Sink: If necessary, use special clamps designed for undermount sink installation to hold the sink in position while the adhesive cures. Make sure the clamps do not put too much pressure on your countertop or sink to avoid cracking.
This is your last chance to make final adjustments before the adhesive sets, so take a moment to make sure everything is aligned perfectly.
4. Seal, Test, and Clean
Once the sink is securely in place, you'll need to ensure it's sealed properly and finalize the installation.
-
Seal the Edges: Apply a bead of sealant around the perimeter of the sink where it meets the countertop. This will create a watertight seal and prevent any leaks.
-
Test for Leaks: Reconnect the plumbing and test the sink for any leaks. Run water to check that the sealant holds and the water flows properly without any issues.
-
Clean Excess Sealant: Wipe away any excess sealant around the edges with a clean cloth, leaving a neat, professional finish.
Congratulations, you’ve completed your undermount sink installation! After the adhesive fully dries, your kitchen, bathroom, or workstation sink will be securely in place, providing you with a seamless, sleek, and functional centerpiece. Take a step back and admire your work.
What Are Common Installation Mistakes to Avoid?
When installing an undermount sink, it's easy to make mistakes that can compromise both the aesthetic and functionality of your kitchen or bathroom. Let’s review some common errors and how to avoid them.
Incorrect Sink Positioning
Misplacing the sink or misaligning it with the countertop are common mistakes. To avoid them, ensure you accurately measure and mark the sink’s position before starting installation. Use the template provided with the sink, and double-check the measurements for accuracy. A small shift can throw off the alignment, so precision is key.
Inadequate Adhesive Application
The adhesive used to attach the sink is a critical component for a strong and durable installation. Insufficient adhesive or uneven application can cause the sink to become loose over time. Be sure to apply the adhesive evenly and generously along the sink’s rim. Use a high-quality adhesive specifically designed for undermount sinks to ensure a secure bond that lasts for years.
Poor Bracket Installation
Failing to properly secure your clips or brackets can lead to an unstable sink. Follow the manufacturer’s instructions closely when installing them to ensure the sink stays securely mounted. Ensure that the clips/brackets are attached to solid, stable parts of the countertop or cabinetry to provide maximum support.
Ignoring Proper Sealant Use
Once the sink is in place, sealing the perimeter is essential to prevent leaks. Skipping this step or using an inadequate sealant can lead to water damage underneath the sink, potentially damaging the countertop or cabinetry. Be sure to use a high-quality, waterproof sealant around the edge of the sink, applying it evenly and making sure the sealant fully covers the gap between the sink and countertop.
By being mindful of these common mistakes, you’ll set yourself up for a successful undermount sink installation.
How To Find the Right Undermount Sink To Install in Your Home
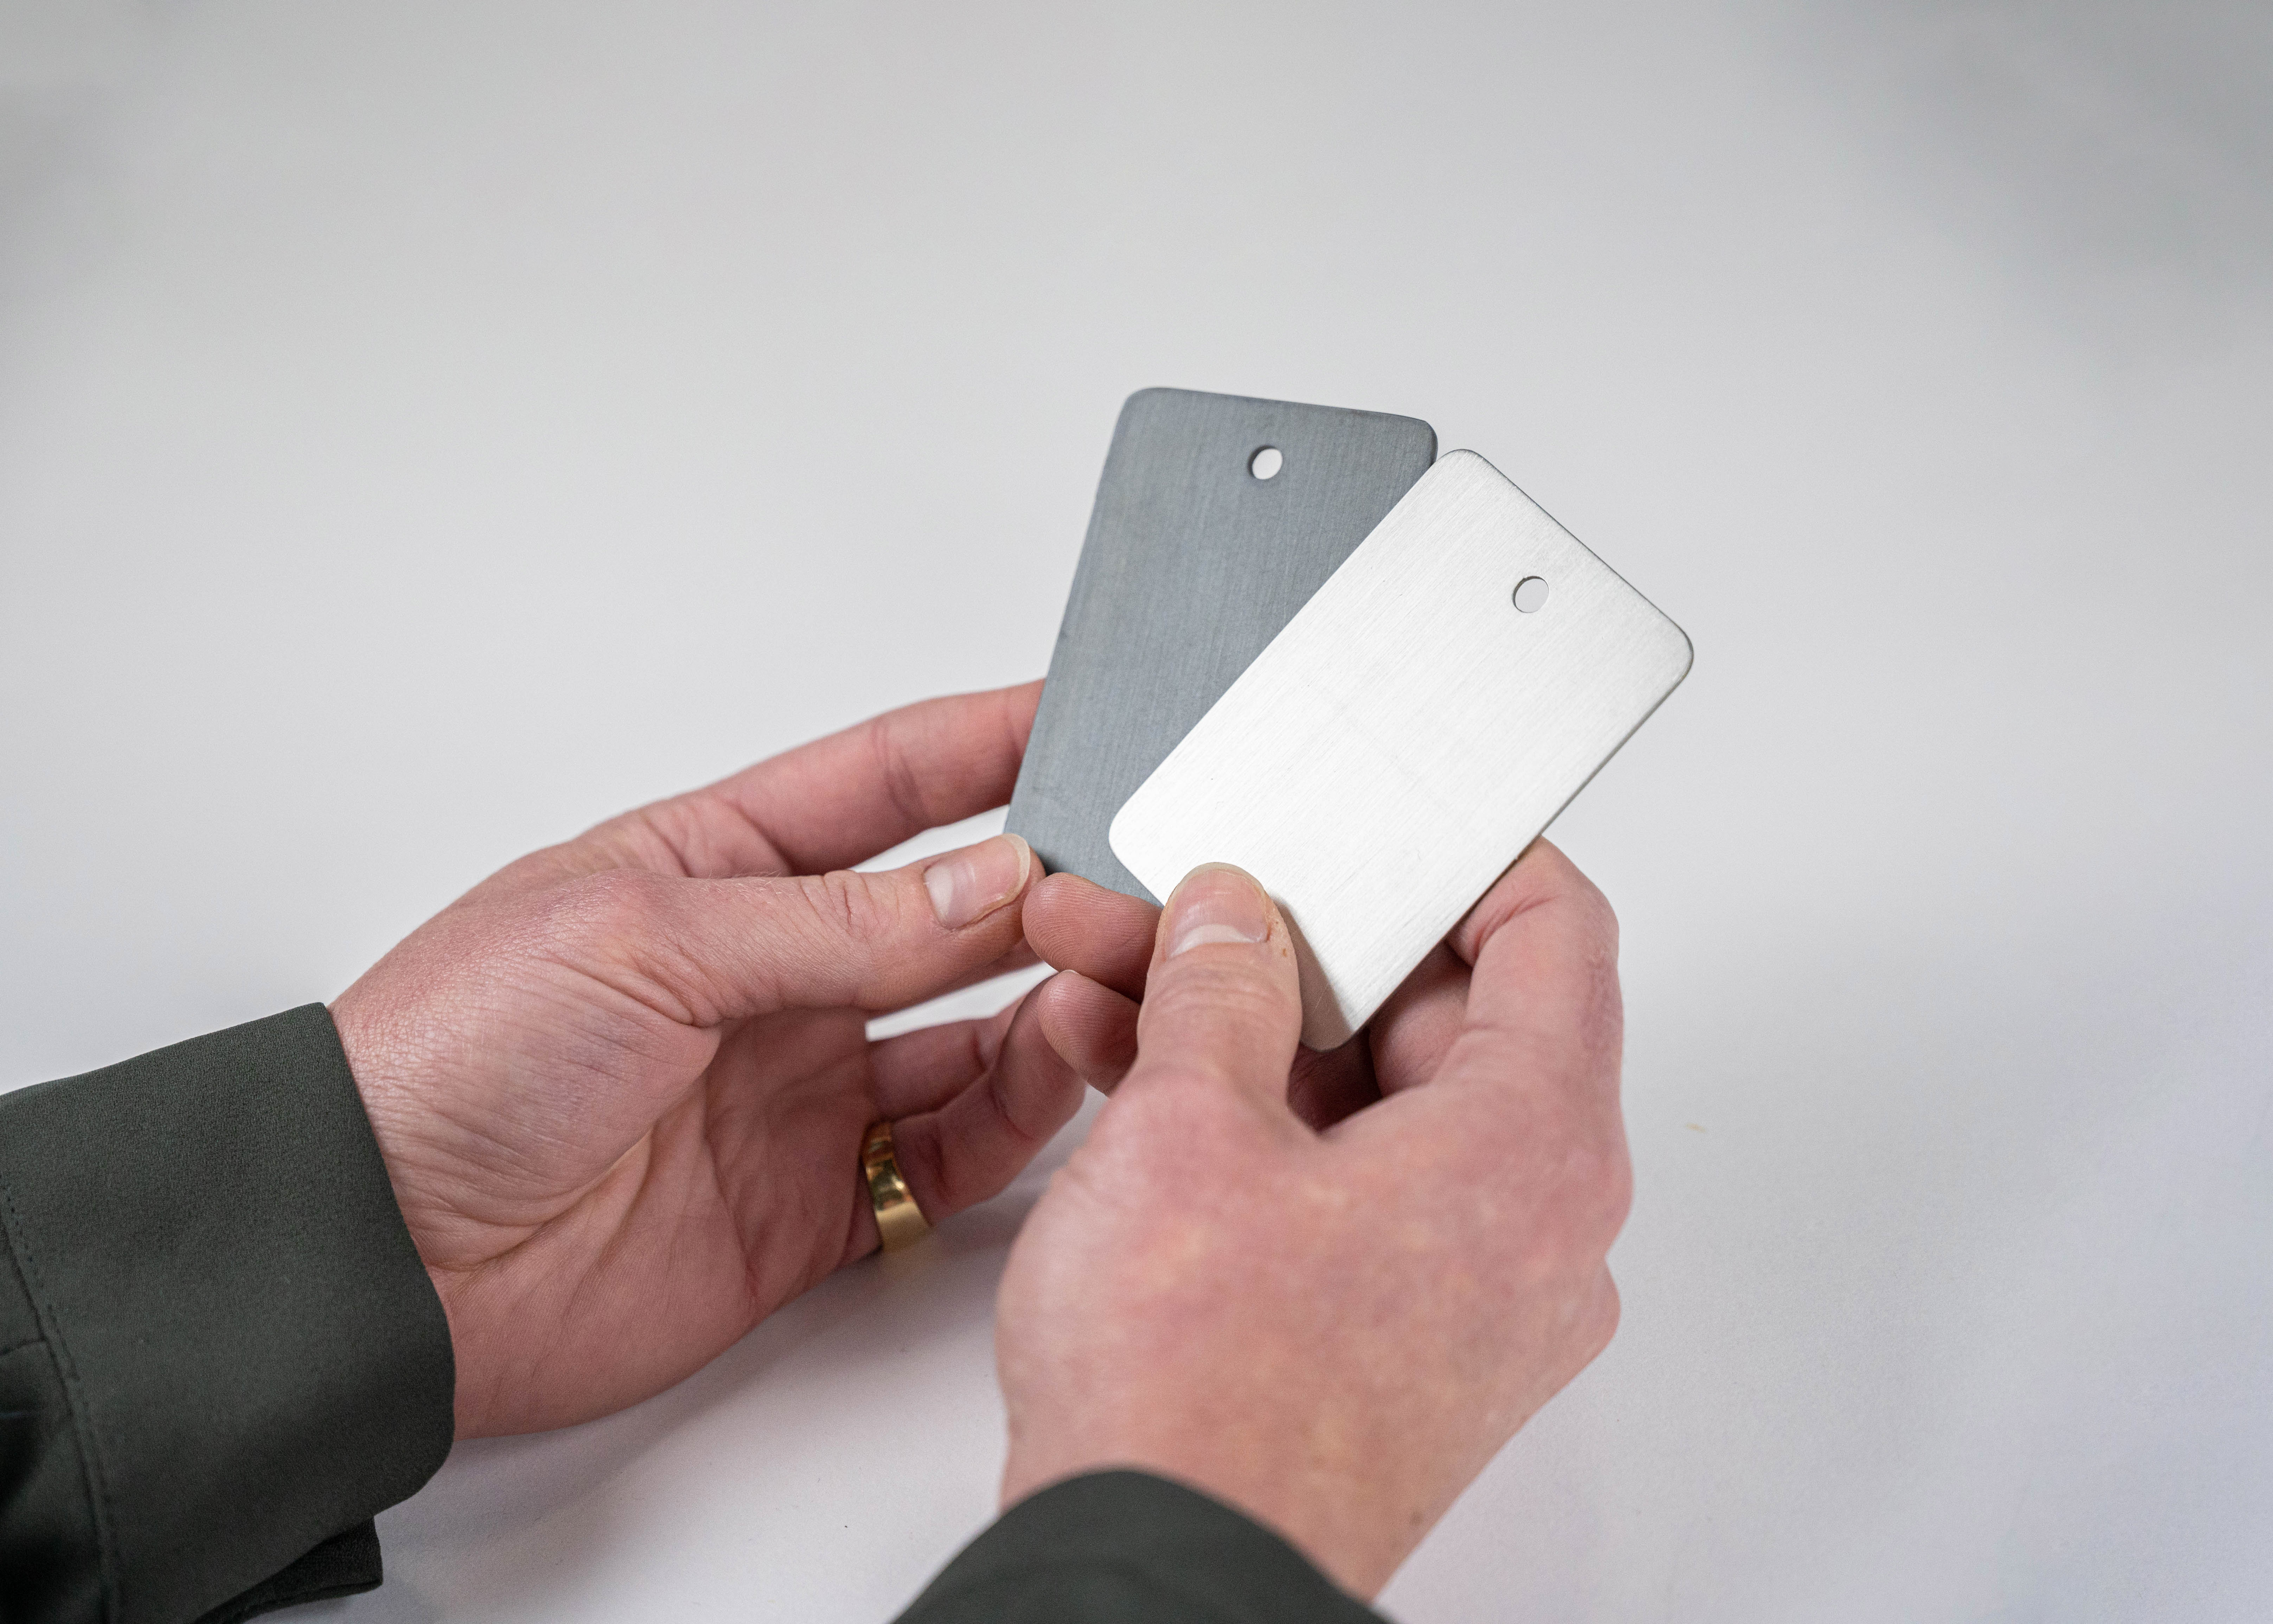
Choosing the right appliances is the key to creating a space that reflects your style and needs. World CopperSmith’s premium galley kitchen sinks and undermount bathroom sinks can be fully customized to match your aesthetic preferences. Whether you’re looking for a classic stainless steel kitchen sink or a luxurious copper bathroom sink, World CopperSmith offers a range of sizes, styles, materials, and finishes.
At World CopperSmith, we pride ourselves on providing high-quality sinks that are both functional and beautiful. Our customizable options allow you to select the right material and finish for your space, ensuring that your new undermount sink is a perfect fit for your home.
Our team is here to help you find the ideal undermount sink to install in your home. Let us help you bring your dream space to life. If you’re ready to select the perfect undermount sink for your kitchen or bathroom, contact us to discuss your options.