Has your kitchen ever been filled with lingering smoke and steam after cooking? That's where a range hood makes all the difference. A range hood is an appliance that pulls all that grease and those unpleasant smells right out of the air, leaving you with a fresh, clean space. This guide will show you how to install a range hood yourself, so you can breathe easier and enjoy cooking more.
You have two main choices when it comes to range hoods: a ducted range hood or a ductless range hood. No matter which you pick, this guide will walk you through the steps you need to get the installation right.
What You Need to Know Before Installing a Range Hood
Check The Wall Structure and Space
It's important to check your wall structure and measure the available space before you even think about installing a range hood.
Custom range hoods come in different shapes and sizes, so making sure you have enough room for the unit is the first step. The size you'll need can vary significantly depending on your cooking style. For example, if you cook frequently and prepare heavy meals like stir-fries, frying, or grilling, you’ll generate more smoke, grease, and steam. In this case, a larger, more powerful range hood with a higher CFM (Cubic Feet per Minute) rating is essential to handle the increased airflow and maintain a clean kitchen environment.
Conversely, if your cooking tends to be lighter, such as steaming or boiling, a smaller range hood might be sufficient. Additionally, cooking methods like grilling or searing at high heat produce more airborne contaminants, so you'll need a stronger ducted range hood to expel those fumes. In smaller kitchens, a less powerful unit may suffice, but for larger, open-plan spaces, you'll need a bigger, more robust model to ensure effective ventilation.
Your cooking style directly impacts both the size and power of the range hood, ensuring that it meets the demands of your kitchen and keeps the air clean and fresh.
With your measuring tool, check that you have 24 to 30 inches of clearance from your cooking surface to the hood. You also want to make sure the hood is wide enough to cover your whole stove. If you have a smaller kitchen, a compact model might be perfect, but remember that powerful high-CFM hoods will need more room to work effectively.
Choosing the Right Range Hood for Your Kitchen
Your kitchen's layout will determine whether you go for a ducted or a ductless range hood. If you're lucky enough to have an existing vent that goes outside, a ducted range hood is your best option. It pulls smoke and grease right out of your home. If venting outside isn't possible, a ductless hood is a great alternative that filters the air and recirculates it back into your kitchen.
To get the most out of your new range hood, you’ll need to make sure it’s the right fit for your kitchen size and how you cook. A key thing to look for is the CFM (Cubic Feet per Minute) rating. The higher the number, the more powerful the hood. That's important if you have a powerful electric range or if you cook in a larger kitchen.
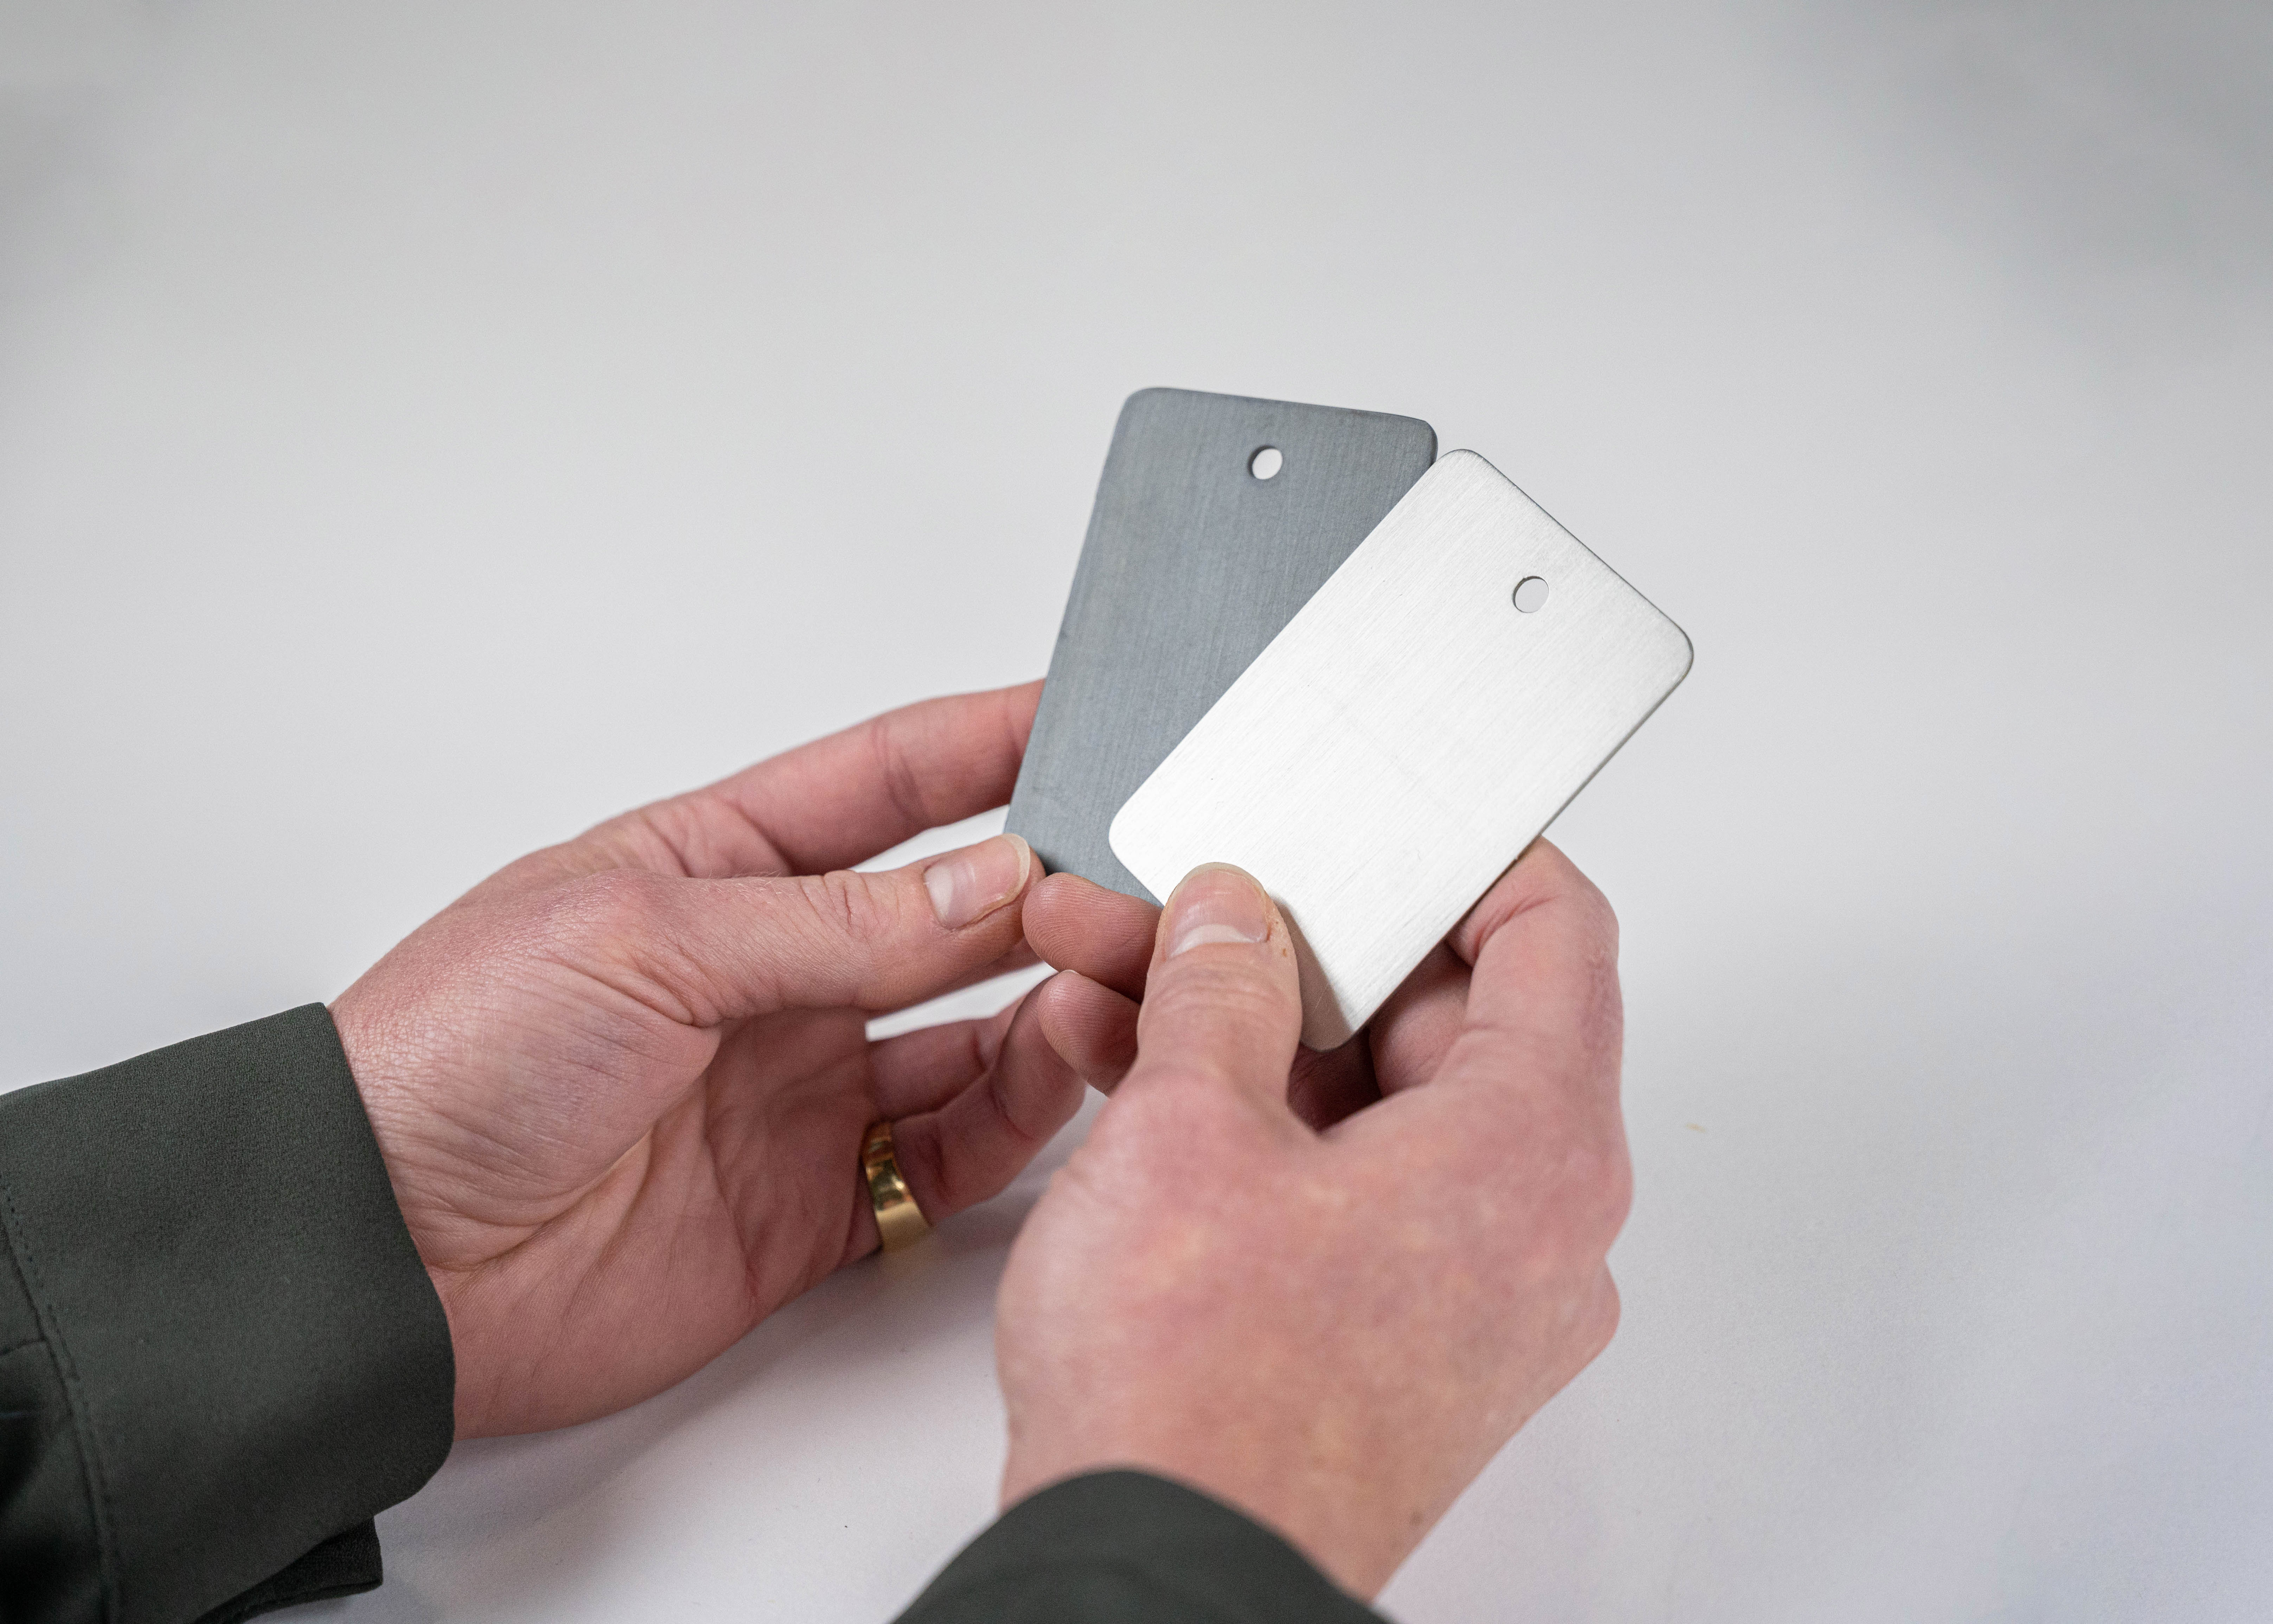
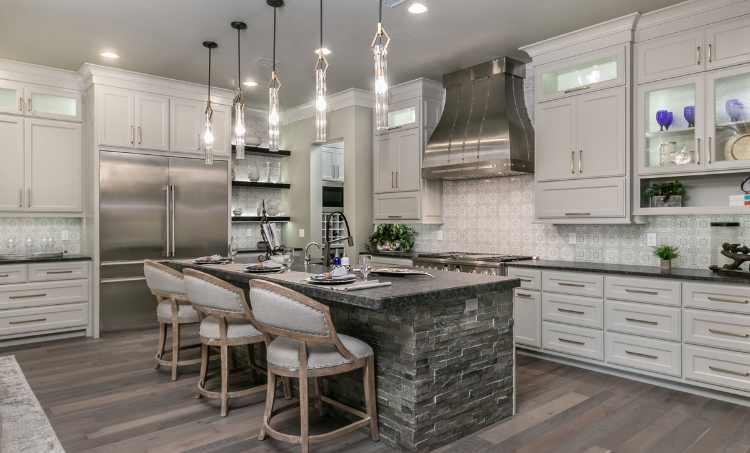
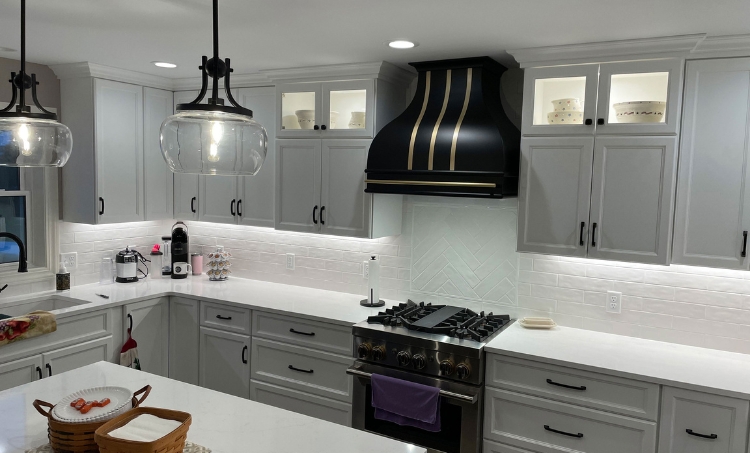
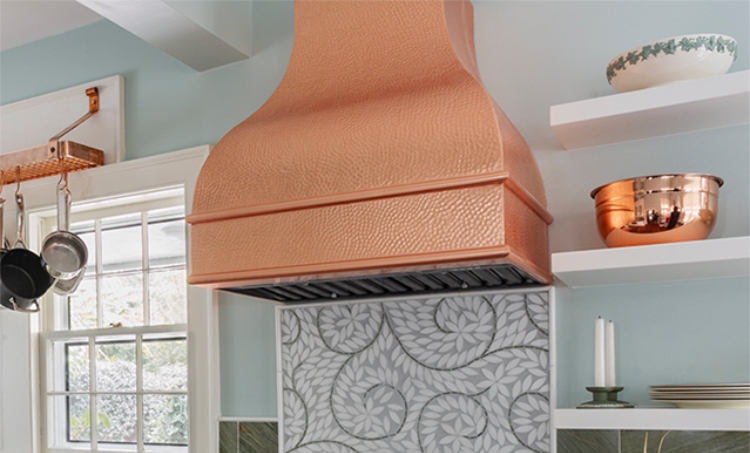
If you're looking for something specific, here at CopperSmith, we offer custom range hoods. You can choose from different finishes, sizes, and textures to match your kitchen's style.
Why Proper Ventilation is Essential
Proper ventilation is about keeping the air clean and breathable. Good airflow stops grease from building up on your cabinets and walls, which can become a fire hazard over time. Vented range hoods that send air outside are the most effective at removing smoke and fumes. Ductless models also get the job done by using filters to clean and recirculate the air, but their performance depends on how good those filters are.
Without good ventilation, all that grease and steam can build up in your kitchen, leading to stale odors and a possible fire hazard.
Tools and Materials You Need to Install a Range Hood
To ensure a smooth and safe installation, you'll need the right supplies.
Tools
- Screwdrivers: Both a flathead and a Phillips will be necessary.
- Drill and a long drill bit: This is for making the holes in your wall or ceiling.
- Level: An important tool to ensure you install your range hood perfectly straight.
- Measuring tape: For correct measurements.
- Stud finder: Don't skip this. It's how you find the studs to make sure your hood is mounted securely.
- Caulk gun: To seal the ductwork and fill any vent openings.
- Paper template: This usually comes with your range hood. It marks the exact spot to drill.
Materials
Here’s a checklist for the right materials you need to complete the installation:
- Mounting and Support Screws: These are what you'll use to securely attach the range hood to the wall.
- Vent Cap and Vent Covers: They're crucial for creating a tight seal and preventing any air leak.
- Ductwork: Get either flexible or rigid, depending on your setup.
- Electrical Wiring: Make sure you have wiring that includes a grounding wire connector for safety.
- Wire Connectors: You'll need these to safely join the electrical wires together.
- PVC Trim: This is for giving the edges of the vent hole a clean, finished look.
- Conduit: This is necessary for protecting your wiring, especially if it runs along the wall.
Step-by-Step Instructions for Installing a Range Hood
Step 1: Remove the Old Range Hood
If you’re replacing an old range hood, you have to start by disconnecting the power. Go to your breaker box and turn off the electricity for the kitchen area. This is a safety step to prevent any electrical shocks.
Once the power is off, unscrew the old hood and carefully disconnect the wiring from the electrical box. If you're not confident about working with electrical components, it's always a good idea to call a professional. Once the wires are safely disconnected, you can carefully remove the old unit.
Step 2: Mark the Vent Location
The next thing to do is to mark the vent location. You need to be precise at this stage. A paper template comes with your range hood, and it shows you exactly where the holes for the ductwork and mounting slots should go. Make sure the vent hole lines up perfectly with your kitchen's ventilation system.
A quick tip: double-check that your duct size is correct, because the wrong one can lead to major airflow problems.
Check for Obstacles in the Wall
Before you make that first cut, grab your stud finder and do a quick check. You want to be sure you're not drilling into any hidden studs, pipes, or electrical wires. Also, you need to confirm that the interior wall is strong enough to handle the weight of your new range hood. This step is for both safety and stability.
Step 3: Prepare the Wall and Vent Opening
Check the Wall
Inspect the wall where your range hood will be installed. Make sure the area is clear and the wall is sturdy enough to hold the weight of the hood. If it feels weak, add some support screws to make sure it's secure.
Cut the Interior Hole
Using your long drill bit, carefully cut the interior hole for the vent. The hole should be the right size for the ductwork to fit inside. Getting a precise cut is so important here because it's the key to preventing any air leaks and ensuring a tight seal.
Step 4: Cut the Vent Pipe Hole
Once the interior hole is ready, you can move on to the outside. It's time to cut the exterior opening for the vent pipe. Make sure the vent pipe leads directly outside. The hole needs to be big enough to allow for good airflow, but not so big that you're left with a bunch of gaps.
Step 5: Attach the Duct and Range Hood Vent Cap
Installing the Vent Cap
Next, go outside and install the vent cap. This little cap is a big deal — it's what will stop rain, debris, and even pests from getting into your duct system. Make sure it's securely attached and sealed up well.
Connecting the Ductwork
Next, attach the ductwork to the interior hole to the exterior vent opening. If you're using a flexible duct, make sure it's secure and there are no kinks that could stop the airflow. For a more stable and permanent setup, rigid ducting is usually a better option since it provides a more airtight connection.
Step 6: Electrical Wiring
With the vent system ready, it's time to connect the electrical wiring. You'll need to hook up the hood's wires to the power. If you're replacing an old unit, you can use the same wiring, but always check the new hood's manual for any specific instructions.
For safety, start by connecting the copper ground wire and matching the other wires with the right color connectors. That's what makes sure everything is safely grounded. Once that’s done, use wire connectors (or wire nuts) to join the main electrical wires, giving each one a little tug to confirm it's tightly secured.
Step 7: Position and Mount the New Range Hood
Placing the Range Hood
Now that the wires are connected, go ahead and position the new range hood on the wall, lining it up with the marks you made for the vent hole. Since range hoods can be heavy, you may need the help of a second person to hold the hood steady while you secure it to the wall.
Securing with Mounting Screws
Once the range hood is aligned, use the mounting screws to secure the unit to the wall. Make sure to drill right into the locator holes that have been marked on the unit. Tighten the screws, but don’t crank them down too hard, or you risk damaging the unit.
Step 8: Finish Electrical Connections
Connect the Electrical Wiring
Now that the unit is securely mounted, you need to complete the electrical connections. Connect all your wires securely inside the box with the right wire connectors. The most important thing is to double-check that the wiring is grounded. That single step is what keeps you safe from electrical shocks.
Ensuring Proper Functionality
Once the electrical connections are complete, turn the power back on at the breaker box. Now, give the range hood a test run to make sure it's working. Check that the fan is running smoothly and that the airflow feels nice and strong.
Step 9: Install Vent Covers
Finally, install the vent covers on both the interior and exterior openings. This maintains a tight seal, stops air leaks, and ensures your range hood gets the best possible airflow.
CopperSmith – For Professional Range Hoods
Looking for a range hood that’s truly one-of-a-kind? At CopperSmith, we handcraft custom range hoods that are designed to meet your kitchen's needs. We offer endless customization options in terms of size, finish, and material to perfectly complement your kitchen décor. Regardless of your choice, our hoods are built to last and provide a touch of luxury. For design inspiration, check out our range hood ideas.
FAQs
Can I Install a Range Hood Myself?
Yes, you can, if you’re confident using basic tools and handling some simple electrical work. However, ensure that you follow the owner’s manual. You really need those specific instructions and safety guidelines to avoid running into any electrical or venting problems.
Do Range Hoods Have to Be Vented Outside?
Ducted range hoods are designed to vent air outside, which is the most effective method for removing smoke, grease, and odors. Ductless range hoods filter and recirculate air, but venting outside is always more effective.
How are Range Hoods Connected?
Range hoods have two main connections: the electrical wiring and the vent ductwork. You hook up the wiring inside the hood's electrical terminal box, and the ducting attaches to the vent pipe, which either sends the air outside or recirculates it back into your kitchen.
How to Mount a Hood to a Wall?
To mount a range hood, find the wall studs for a secure fit, drill holes, and then secure the unit with the mounting screws. Don't forget to double-check that the hood is perfectly centered over your cooking surface.
Conclusion
Installing a range hood might seem like a huge job, but with the right tools and a little patience, it's absolutely something you can tackle yourself. By following these steps, you’ll end up with a proper installation that improves your air quality, upgrades your kitchen's look, and makes cooking safer.
Remember to always follow your specific range hood manufacturer's instructions, and don't hesitate to call a professional if you run into any serious issues. Once it's done, you'll enjoy a cleaner, more comfortable kitchen every single time you cook.