Refinishing a table is a great way to breathe new life into a piece of furniture you love. If your table is looking worn or outdated, refinishing can be an affordable solution to make it feel fresh again.
Learning how to refinish a table can also be a valuable skill that prepares you to take better care of your furniture in the future. Whether it's knowing how to touch up a scratch or restore the finish, this skill can help prolong the life of your furniture and save money on future replacements.
Tools and Materials Needed To Refinish a Table
Before starting any refinishing project, having the right tools and materials on hand will make the job go smoother and faster. Here’s a simple list of what you’ll need:
-
Gloves and safety glasses
-
Face mask (for dust and fumes)
-
Drop cloth or old newspapers for protection
-
Paint stripper or furniture stripper
-
Wood filler (if needed)
-
Sandpaper (coarse, medium, and fine grits)
-
Orbital sander (optional, but helpful)
-
Brushes or rags for staining and applying finish
-
Stain or paint (depending on your preference)
-
Polyurethane or clear protective finish
-
Painter’s tape (optional, for clean edges)
Having all of these materials ready will not only ensure that you don't have to stop in the middle of your project to gather supplies but will also help you maintain a steady workflow.
4 Steps for Refinishing a Wood Table
There are four main steps to refinishing a table. You can change or add to them depending on the look you’re going for, but these basic steps stay the same.
1. Strip the Old Finish
The first step in refinishing wood is removing the existing finish, whether it be stain, varnish, or paint. This is important because the new stain or paint needs to adhere to the wood, and the old finish can cause it to become uneven or blotchy. If the old finish is flaking or peeling, it will create an even more irregular surface.
If the table is stained, you can usually move on to sanding directly. Some tables may only need a light sanding if the old finish is already flaking off, which can save you time and effort. However, if the previous finish is deeply ingrained or layered, a chemical stripper may be your best bet.
If the table is painted, start by applying a paint stripper to the table's surface using a brush. Follow the instructions on the product to let it sit for the recommended time. Once the finish begins to bubble up, scrape it away using a plastic or metal scraper. Be sure to wear gloves and work in a well-ventilated area to avoid exposure to fumes.
2. Sand for a Smooth Surface
Once the old finish is stripped, sanding is the next step to refinishing a table. Start with coarse sandpaper (around 80 grit) to remove the rough bits and move up to finer grit (120 to 220 grit) for a smoother finish.
Sanding is key to getting an even surface and allows the stain to be absorbed uniformly. If you skip this step or don’t sand properly, the stain might appear patchy or uneven.
Be sure to sand along the grain of the wood, not against it, to avoid creating scratches that will show through your finish. If your table has detailed or intricate areas, like legs or carvings, a hand-sanding block or sanding sponge may be necessary to reach those tighter spaces.
3. Stain for Color
Staining is the step that will drastically change the look of your table. This is when you choose the color that will complement your space and personal style. Staining also highlights the natural grain of the wood, making it appear more textured and defined. Always follow the instructions provided with the stain you purchase for the best results.
Generally, to apply stain, use a brush or rag to wipe the stain evenly across the surface. It’s important to apply a thin, even coat and not to leave pools of stain sitting on the wood. Once the stain is applied, let it sit for a few minutes before wiping off any excess with a clean cloth. If you desire a darker finish, apply a second coat after the first one has dried.
Painting the Wood
If you decide to paint the table instead of staining it, you must apply a coat of primer before the paint. Primer acts like a base layer that prepares the surface so the paint sticks properly. Without it, the paint might peel, chip, or look uneven. Primer also helps hide any marks or stains on the wood and creates a smoother surface, which makes the final coat of paint look cleaner and more professional.
Usually, two coats of paint are enough when refinishing a table. The first coat gives coverage and sets the base color, while the second coat evens everything out and deepens the finish. Make sure the first coat is completely dry before adding the second one. In some cases—like if you're using a very light color over dark wood—you might need a third coat for full coverage.
4. Seal for Protection
After staining or painting, the final step is sealing the table. Sealing protects the surface from scratches, spills, and general wear and tear, ensuring the table lasts for years to come. Use a polyurethane finish, either satin, gloss, or matte, and apply it in thin but even coats with a brush or clean rag.
Allow the first coat to dry completely before applying a second coat for extra protection. After the second coat dries, lightly sand the surface with fine-grit sandpaper to smooth out any bumps or bubbles, then apply a final coat of polyurethane. For tables exposed to heavy use or outdoor elements, consider using a more durable finish, such as a varnish or lacquer.
Choosing the Right Type of Stain or Paint When Refinishing a Table

Different types of wood react uniquely to staining and painting due to their grain structure, density, and porosity. For instance, softwoods like pine absorb stain more readily, often resulting in a darker finish with minimal effort. On the other hand, hardwoods like oak, maple, or cherry are denser and may require more effort to achieve the desired stain depth. These woods may also have a more pronounced grain pattern that could either be enhanced or subdued depending on the finish applied.
When painting, hardwoods tend to create a smoother, more durable finish, while softwoods may require additional prep work to achieve a flawless coat. Understanding how your specific wood type will behave can help you select the right products and techniques to achieve the look you want.
Common Table Refinishing Mistakes To Avoid
Refinishing a table can be a rewarding DIY project, but it's easy to make mistakes along the way that can compromise the quality of your final result. By understanding and avoiding these common refinishing mistakes, you'll be able to achieve a professional-looking finish that enhances the beauty of your table. Here are some mistakes to avoid when learning how to refinish a table:
-
Skipping Surface Preparation: Not properly stripping, cleaning, and sanding the surface before starting can lead to uneven staining or the finish not adhering properly.
-
Using the Wrong Type of Sandpaper: Using sandpaper that's too coarse can leave visible scratches, while using paper that's too fine can prevent the stain from absorbing properly.
-
Over-sanding: Sanding too much or too aggressively can damage the wood, causing it to become uneven or thin, making it harder to achieve a smooth finish.
-
Not Testing the Stain: Failing to test the stain on a small, inconspicuous area first may lead to unexpected results, especially if the wood reacts differently than anticipated.
-
Applying Too Much Stain: Applying stain too thickly can result in a sticky, uneven finish. It’s better to apply thin layers and let them dry before adding more.
-
Not Allowing Proper Drying Time: Rushing the drying process, either between steps or after applying the finish, can cause smudges, uneven texture, or a finish that never fully hardens.
-
Not Protecting the Table After Refinishing: Not applying a protective topcoat or finish can leave the table susceptible to scratches, water damage, and stains in the future.
Avoiding these common refinishing mistakes will not only save you time and effort but also ensure that your table looks stunning and lasts longer.
FAQs About Table Refinishing
Whether you're new to refinishing or just need a quick answer to a specific concern, these FAQs will help clarify a few doubts you may have about how to refinish a table.
How Long Does the Refinishing Process Take?
The time it takes to refinish a table depends on several factors, such as the size of the table and the type of finish being applied. Typically, the process can take anywhere from a few hours to several days, especially if drying time is factored in between coats of stain or finish.
How Expensive Is It To Refinish a Table?
The cost to refinish a table can vary depending on the materials used and whether you hire a professional. On average, doing it yourself can cost anywhere from $50 to $150, while professional refinishing can range from $200 to $500 or more.
Can You Refinish a Table Without Stripping the Old Finish?
In some cases, you can refinish a table without stripping the old finish, especially if the finish is already flaking or damaged. However, for a clean and even result, it’s usually best to strip the old finish to ensure proper adhesion of the new stain or paint.
Can You Refinish a Table Without Sanding?
While sanding is recommended for a smooth and even finish, you may be able to refinish a table without sanding if the surface is already in good condition and you’re using a paint with built-in primer. However, skipping sanding can lead to a less durable finish.
What Should You Do if the Finish Doesn’t Come Out Smooth?
If the table’s finish doesn’t come out smooth, it’s often due to dust or debris trapped in the surface. You can lightly sand the area once the finish is dry, then reapply a thin layer of finish to smooth it out. Ensuring proper prep and a clean work area can help avoid this issue in the future.
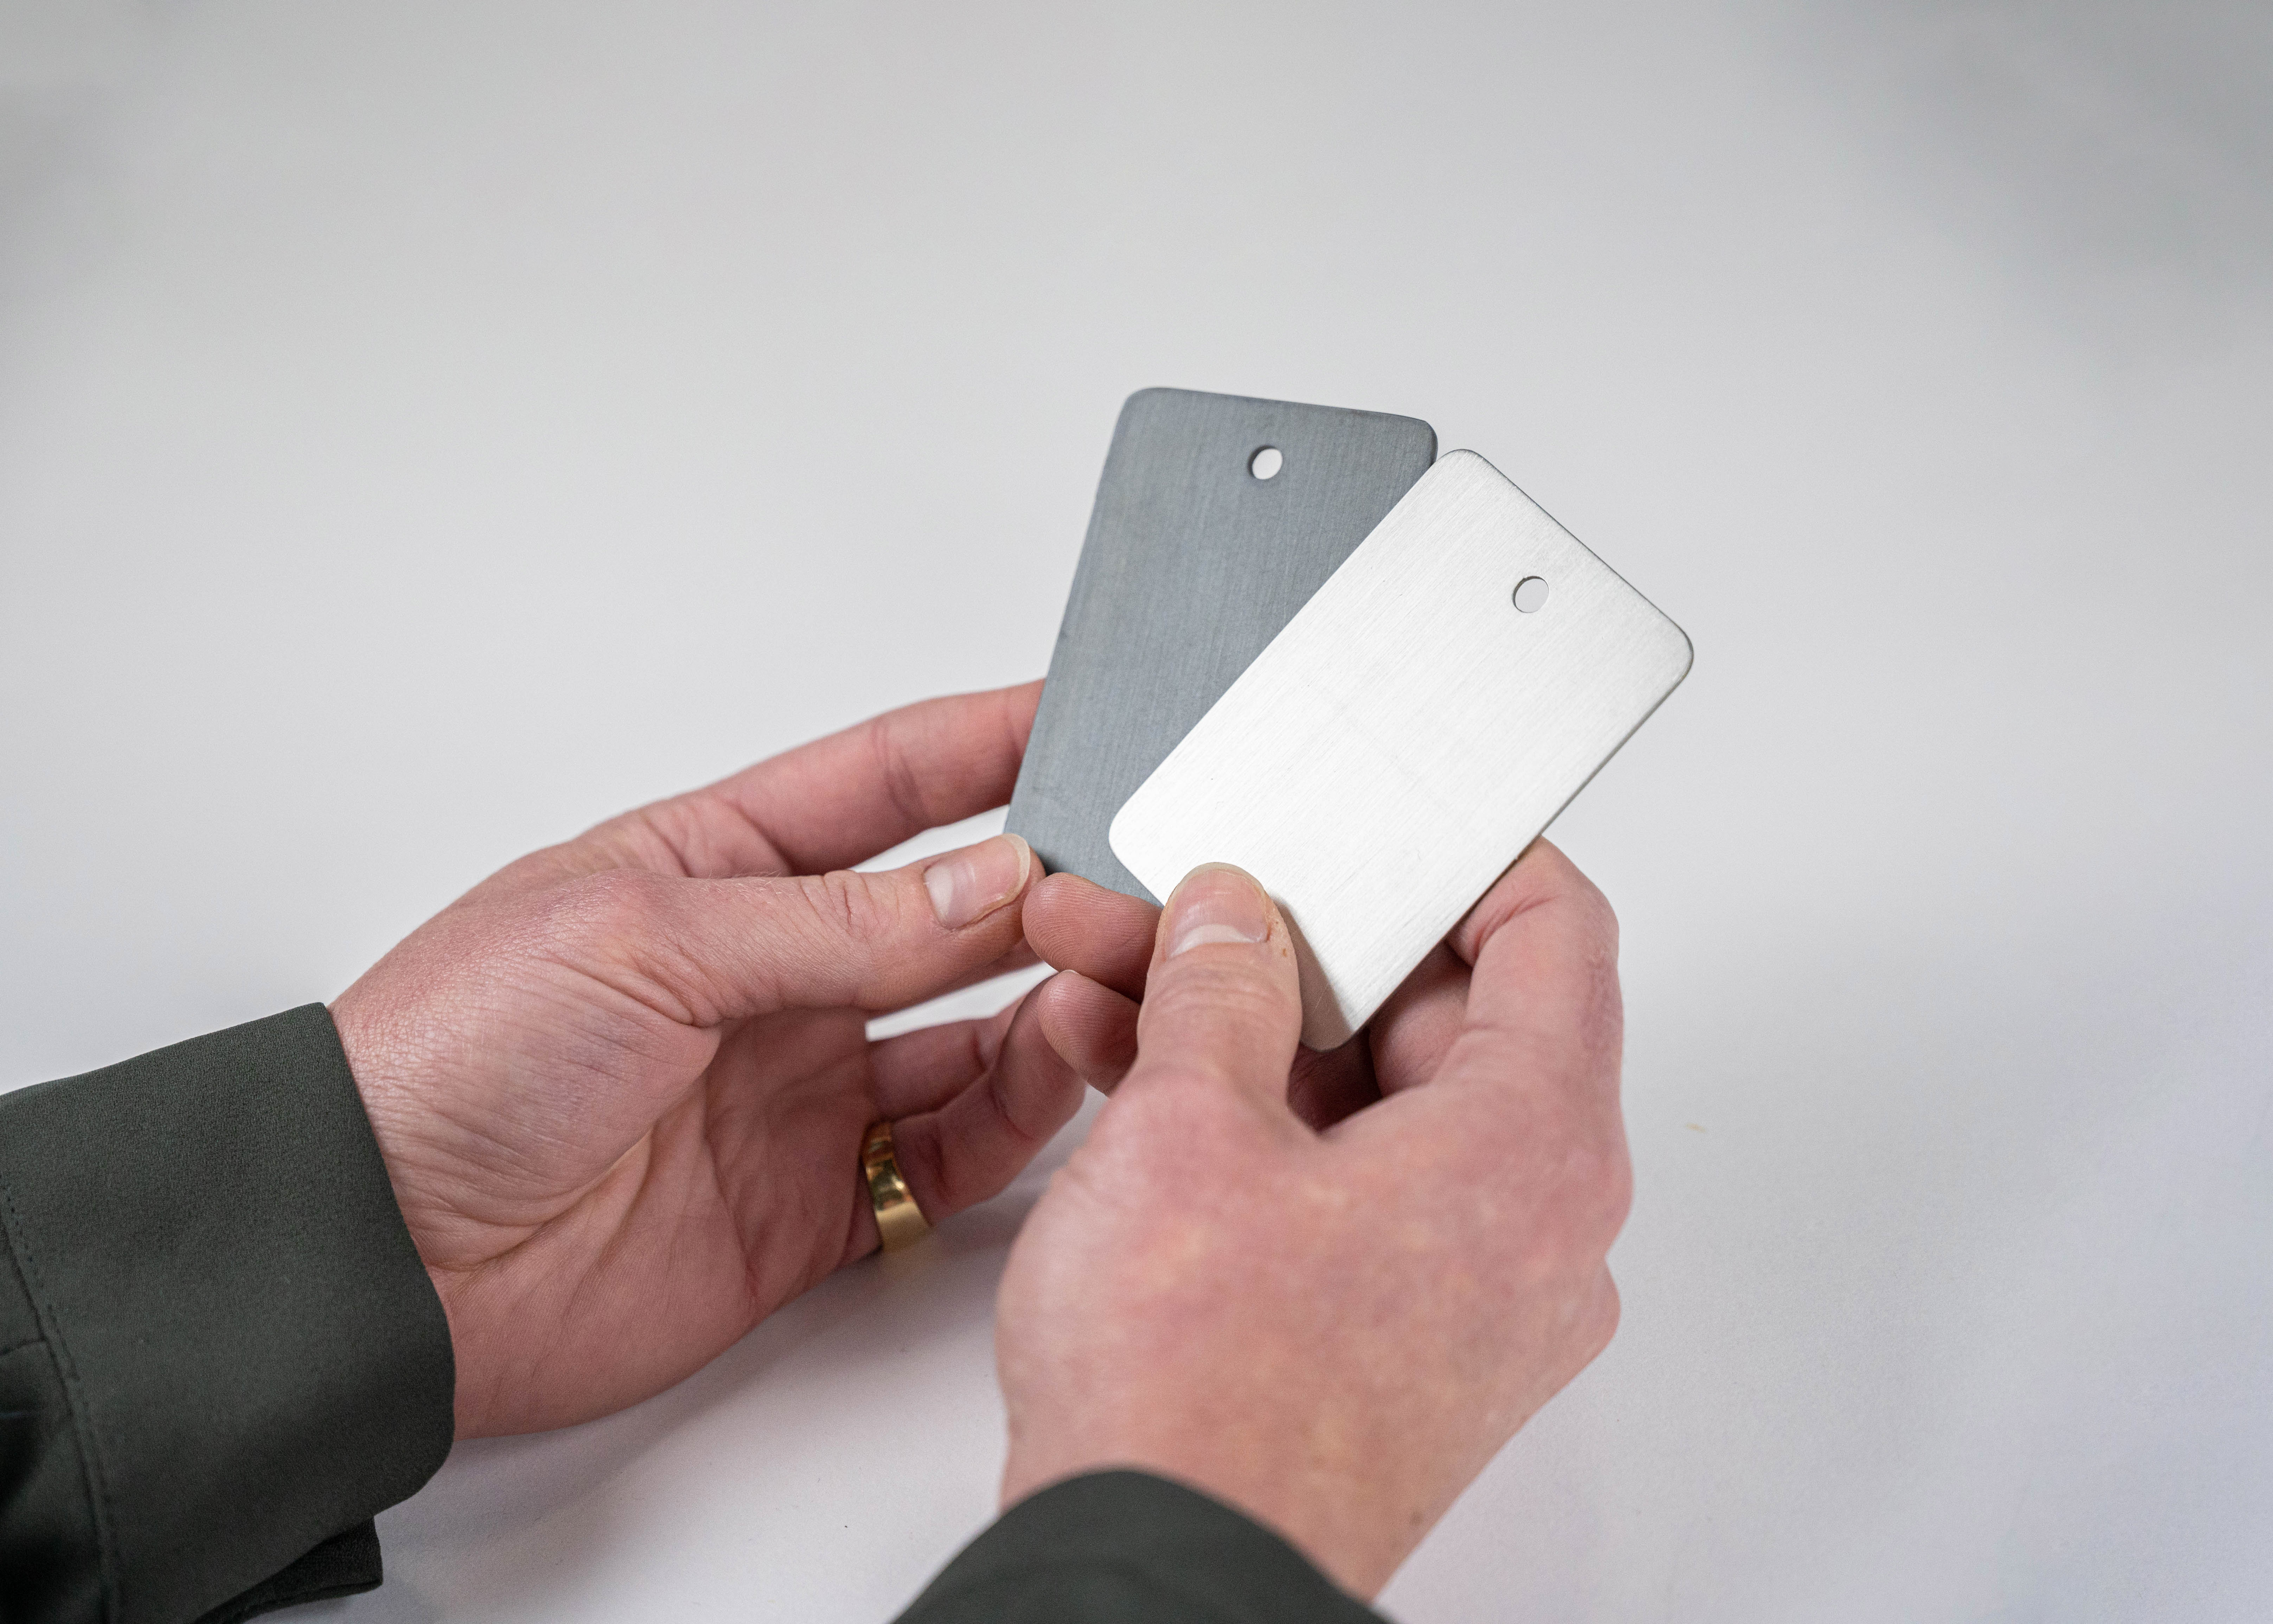
Can You Refinish a Metal Table?
Yes, you can refinish a metal table, but the process is different from wood refinishing. Metal surfaces need to be properly cleaned and rust-free before applying a fresh coat of paint. However, one of the metal table benefits is that some are designed to have metal finishes rather than paint.
How To Know When To Refinish a Table vs. Buy One

When deciding whether to refinish a table or buy a new one, it often comes down to the table’s condition and the style you’re aiming for. If your table is structurally sound but has become outdated or has visible wear, refinishing is a great option to restore its beauty. However, if the table has major structural issues, such as splitting or damage, buying a new table might be a better investment.
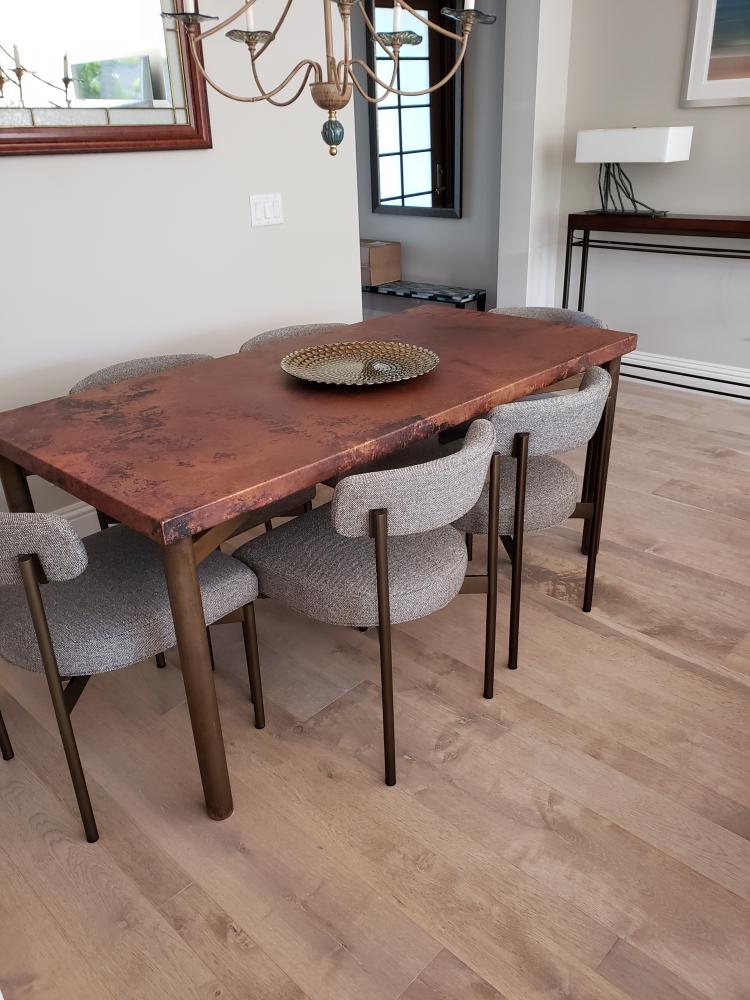
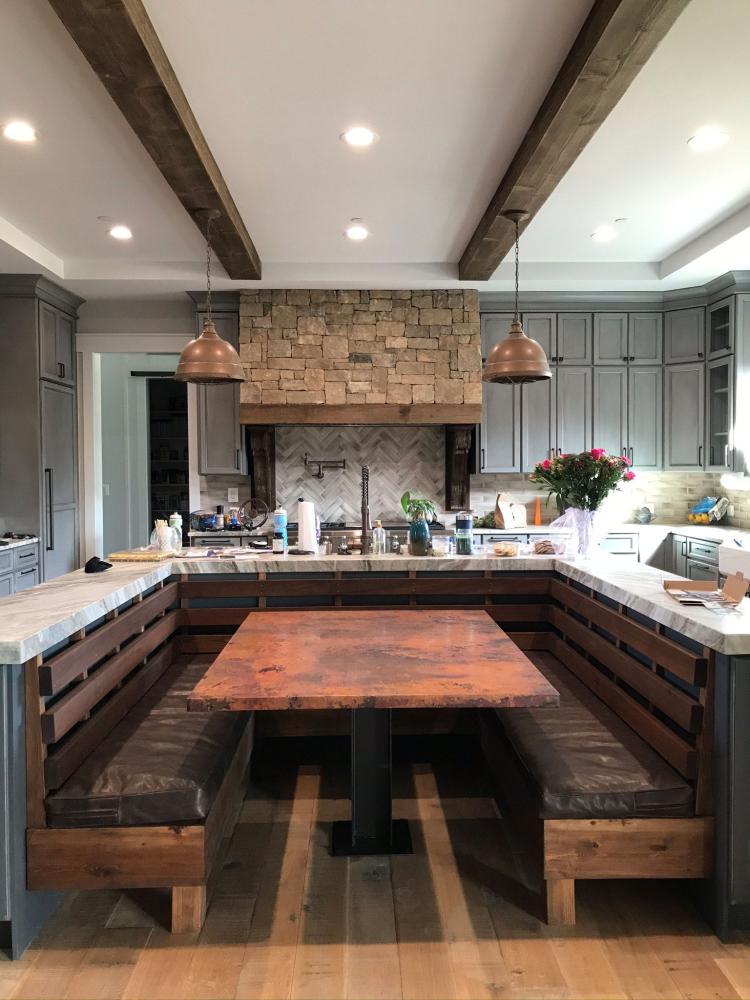
Avoid the Pain of Refinishing a Table With a New One From World CopperSmith
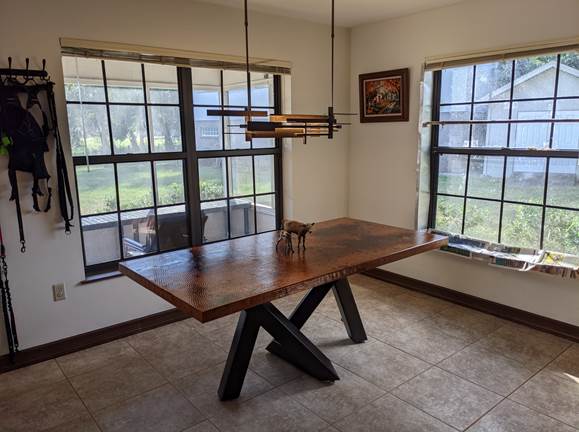
If you don’t want to learn how to refinish a table yourself, consider buying a new piece instead. World CopperSmith offers custom wood tables crafted for both beauty and durability. We ensure that every table is not just a piece of furniture, but a lasting investment in your home.
Contact CopperSmith to learn more about our selection of handcrafted wood and metal tables and how you can customize them to match your style. Let us help you find the perfect table for your space.