Stainless steel kitchen sinks are a beautiful addition to any home. Their sleek modern design and glossy finish make for a gorgeous appliance in any home.
However, daily wear and tear of using your stainless steel sink will inevitably cause scratches, stains, and rust to take form, especially if the sink isn’t taken care of.
You cannot expect your stainless steel sink to be this indestructible appliance that will always look shiny and glossy, especially if you never clean your sink. Nevertheless, taking the proper precautions to protect your stainless steel sink will ensure the longevity of your sink to look as good as new.
In this article, you’ll discover ways to protect your stainless steel sink from common issues. You’ll also learn about sealing and waxing your sink so you have everything you need to know about how to protect your stainless steel kitchen sink.
Protect Your Stainless Steel Sink From These Common Issues
Although stainless steel sinks can provide a sleek and shiny design to your kitchen, unfortunately, unwanted stains, scratches, and rusting can take form on your sink due to everyday use.
Therefore, you need to protect your stainless steel sink to ensure it maintains its spotless, glossy look.
Water spots, scratches, stains, and rust are some of the most common issues you need to look out for and take action on to protect your sink.
Stainless Steel Sinks And Water Spots

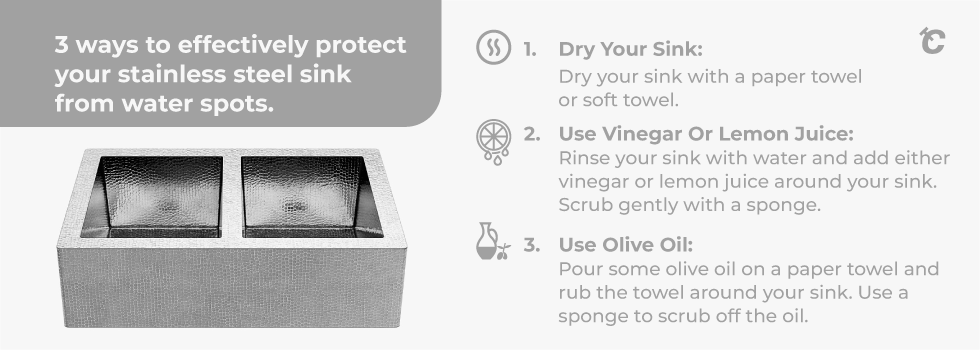
There are a couple of ways to effectively protect your stainless steel sink from water spots.
Dry Your Sink: Make sure you thoroughly dry your sink with a paper towel or soft towel to prevent any water spots from forming.
Use Vinegar Or Lemon Juice: Rinse your sink with some water and add either vinegar or lemon juice around your sink. Then, gently scrub your sink with a sponge to remove any water spots.
Use Olive Oil: Pour some olive oil on a paper towel and rub the towel around your sink. Once done, use a sponge to scrub off the oil in your sink.
Rusting On Your Stainless Steel Sink

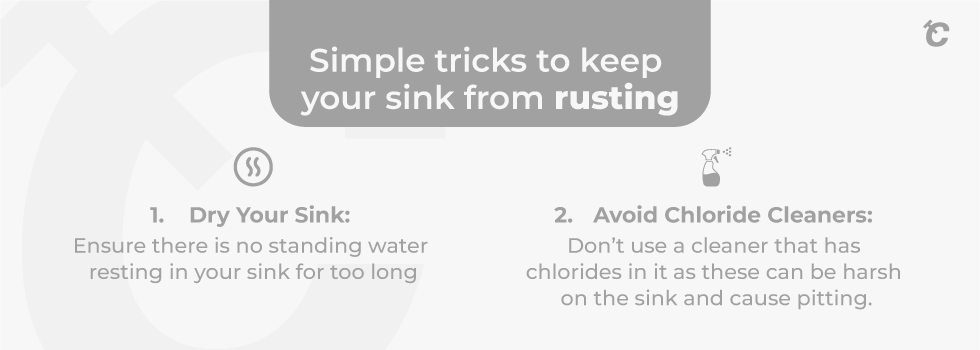
Rust is another common issue you need to look out for and prevent from happening in your stainless steel sink. Save your sink and use these simple tricks to keep your sink from rusting.
Dry Your Sink: Just like with preventing water spots, in order to protect your sink from rusting, you need to ensure there is no standing water resting in your sink for too long.
Avoid Chloride Cleaners: Always check the ingredients list on your sink cleaner. Don’t use a cleaner that has chlorides in it as these can be harsh on the sink and cause pitting. If the sink finish is pitted, this makes it easy for rusting to occur.
If rusting has already occurred, Bar Keepers Friend is a useful product to help remove rust from your sink. To use Bar Keepers Friend, sprinkle the powder into a towel. Then, spray water around the sink and then wipe your sink with a towel.
You can also use vinegar to remove rust. Simply pour the vinegar on the area that has rust, let the vinegar soak for at least 5 minutes, wipe the area gently with water, and dry off the sink.
If you notice rust in your brand new sink, instead of rushing to assume you have a “bad” new sink that’s a defect, ensure you haven’t done anything to cause your sink to rust. A common issue is using harsh cleaning chemicals on your sink. Ensure your sink cleaner is free from chlorides before cleaning your sink.
Scratches On Your Stainless Steel Sink
Unfortunately, although stainless steel sinks are durable and make for a quality sink, this doesn’t mean they are invincible. Stainless steel sinks can get scratches as a result of daily use.
If you notice your stainless steel sink scratches easily, ensure you are taking proper care of your sink instead of immediately discounting the quality of the sink.
Although there’s no definite way to prevent scratches altogether, consistent cleaning and being cautious of how your place things in your sink (rather than just tossing dishes into the sink) can make an impact on the number of scratches on your sink.
Also, consider placing a rubber mat on the bottom of your sink. This way, when you place dishes and utensils in your sink, they won’t ding and scratch the bottom of your sink as much.
If you do notice light scratches, consider using a non-abrasive solution to help reduce/ fill the scratch. You can use non-gel toothpaste, baking soda, and water mixed together and apply that solution to the scratch. Gently rub the solution into the scratch and wipe away with a towel and dry.
For bigger scratches that don’t look better after applying a non-abrasive solution, consider buffing out scratches with a scouring pad.
Put some oil onto the pad and firmly buff the area of the sink that has the scratch. Also, apply pressure slightly to the surrounding areas of the sink to create a more smooth, even look.
Stains And Stainless Steel Sinks

The name “stainless” steel sink is misleading. Stains can still take form on your sink, even if it’s made of stainless steel.
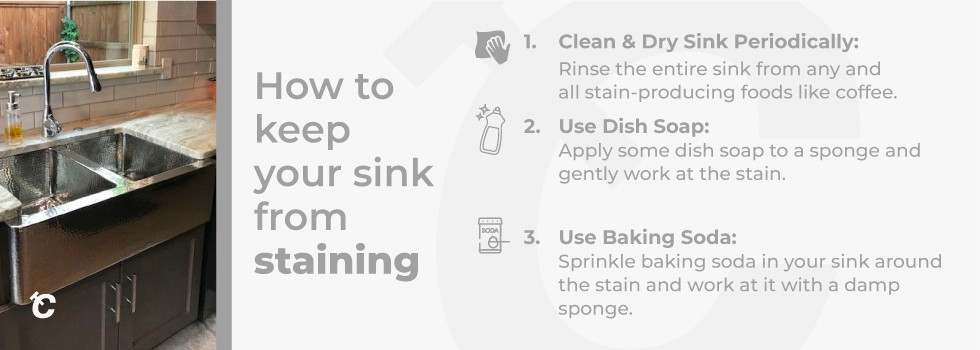
Here are some top tips on how to keep your sink from staining.
Clean & Dry Sink Periodically: Try to consistently clean your sink daily. Rinse the entire sink from any and all stain-producing foods like coffee. Afterward, be sure to always dry your sink.
Use Dish Soap: Apply some dish soap to a sponge and gently work at the stain.
Use Baking Soda: If dish soap doesn’t do the trick, sprinkle baking soda in your sink around the stain and work at it with a damp sponge. Be sure to thoroughly rinse away all the excess baking soda and dry your sink when you’re done removing the stain.
Can You Seal A Stainless Steel Sink
Stainless steel sinks can over time lose their gorgeous shine due to everyday use. You can use a seal to bring back the polished finish, making your sink look like it’s brand new!
To seal and polish your sink, make sure you grab a nontoxic formula specifically for polishing stainless steel sinks. Olive oil also works great as an at-home alternative.
How to Apply Kitchen Sink Sealant
On the other hand, kitchen sink sealant is used to create a seal around your sink or around your sink drain. This seal ensures no excess water or other particulars go through the gaps either around the sink or sink drain. Otherwise, this could lead to water damage and mold forming between the gaps of the sink.
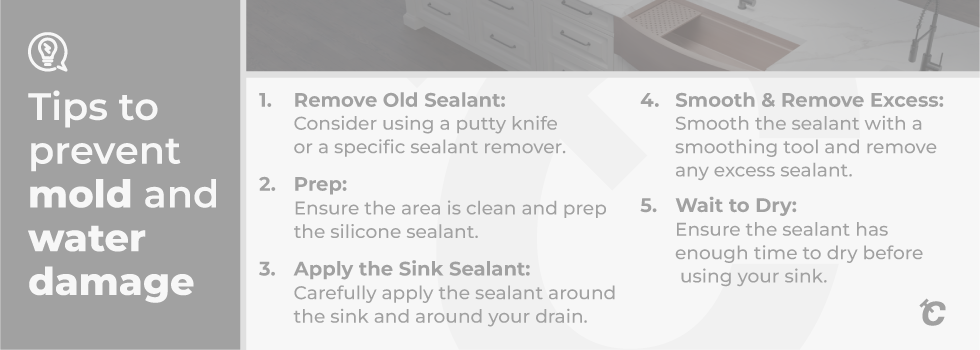
To prevent mold and water damage, here are some helpful tips on how to apply kitchen sink sealant around your sink.

Remove Old Sealant: You’ll first have to scrape all the old sealant off. To this, consider using a putty knife or a specific sealant remover.
Prep: Before you apply the new sealant, ensure the area is clean and prep the silicone sealant.
Apply the Sink Sealant: Carefully apply the sealant around the sink and around your drain. Try to apply the product evenly.
Smooth & Remove Excess: After you’ve applied the sealant, smooth the product with a smoothing tool and remove any excess sealant.
Wait to Dry: Ensure the sealant has enough time to dry before using your sink.
What do I use to seal an undermount sink?
If you are looking to seal your undermount sink to ensure no mold forms between your sink and counter, you must use the right sealant.
You should use pure, 100% silicone sealant when installing your undermount sink. Silicone sealant has great adhesive elements to make sure to properly hold your sink in place and prevent any gaps from forming that would cause water damage or mold.
If you use the wrong type of sealant to install your undermount sink, you run the risk of the sealant failing. Therefore, don’t use a regular type of caulking to install your undermount sink.
What is silicone sealant?
Silicone sealant (caulk) is a gel adhesive substance that is often used with many home improvement projects, such as installing a new kitchen sink!
A silicone sealant is a go-to material because of its flexibility thanks to its consistency and strength. Therefore, if you are looking to seal gaps between two different surfaces, such as a sink and countertop, caulking is the perfect substance to connect the two.
Can You Wax A Stainless Steel Sink
Yes, you can wax a stainless steel sink. In fact, applying wax to your sink can help fill any scratches on your sink, protect the sink from stains, and add a nice shine to your sink.
You can wax your sink using car wax. Simply dip a lint-free towel into the car wax and rub the cloth around your sink. Then, give the wax some time to dry thoroughly.
Afterward, buff the sink with a towel to give off a mirror-like finish.
Frequently Asked Questions
Should kitchen sinks be caulked?
As discussed above, yes kitchen sinks, no matter if they are stainless steel or not, should be caulked. This is because, if you don’t use a quality sealant to bind the two surfaces such as a sink and counter top together, you run the risk of water going into the gaps which can cause mold and water damage.
How do you polish a stainless steel sink to a mirror finish?
If you are looking to polish your stainless steel sink to achieve a mirror finish, buffing your stainless steel sink is the best way to go. You can actually use flour to buff your sink!
First, wash your sink with water and dish soap to make sure your sink is clean. Then, sprinkle flour around the entirety of your sink and buff it with a towel.
Can plumber’s putty be used on stainless steel sinks?
Unless the packaging of the plumber’s putty directly says it’s safe to use on stain steel material, do not use the plumber’s putty on your stainless steel sink.
This is because often plumber’s putty isn’t compatible with the stainless steel material of kitchen sinks today, resulting in the product not working to properly close the gap between the sink and counter.
Therefore, instead of using a plumber’s putty, used silicone sealant to install your sink to ensure no gaps form.
How do you seal a stainless steel sink to a granite countertop?
To seal a stainless steel sink to a granite countertop, you first need to remove the old caulk (if any). Then, apply an even layer of sealant to connect the granite countertop and the stainless steel sink. Once the two surfaces are connected, often a second layer of caulking is applied over the edge of the sink to the countertop to ensure no excess moisture or crumbs get into any gaps between the sink and counter.
Are you looking for a custom metal work product for you home? Check out CopperSmith today!
