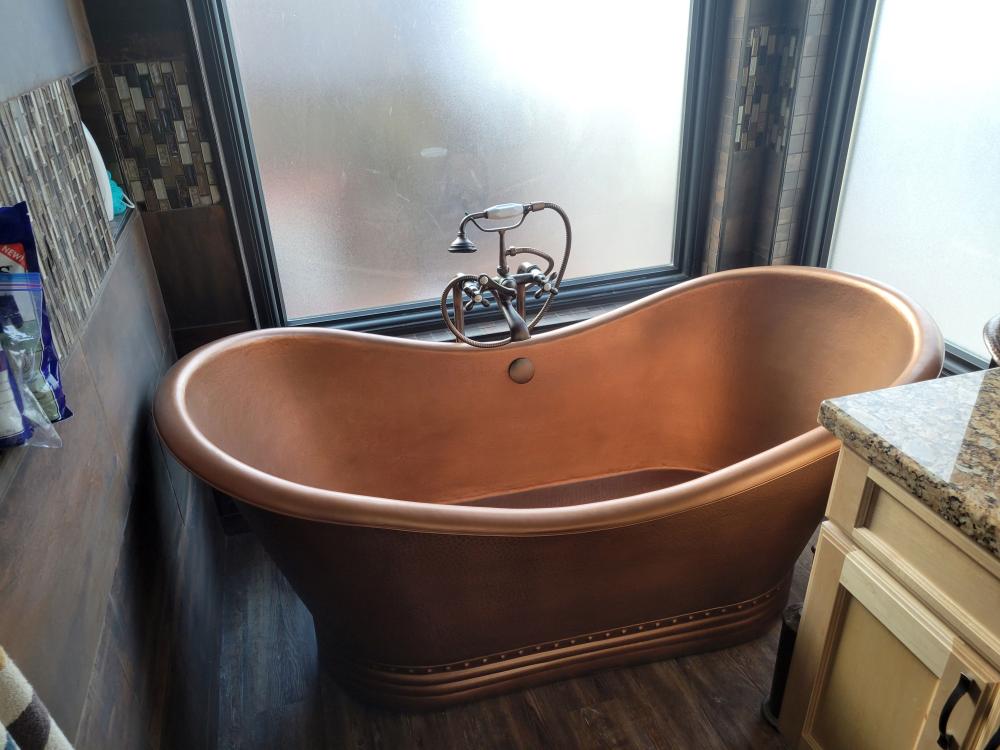
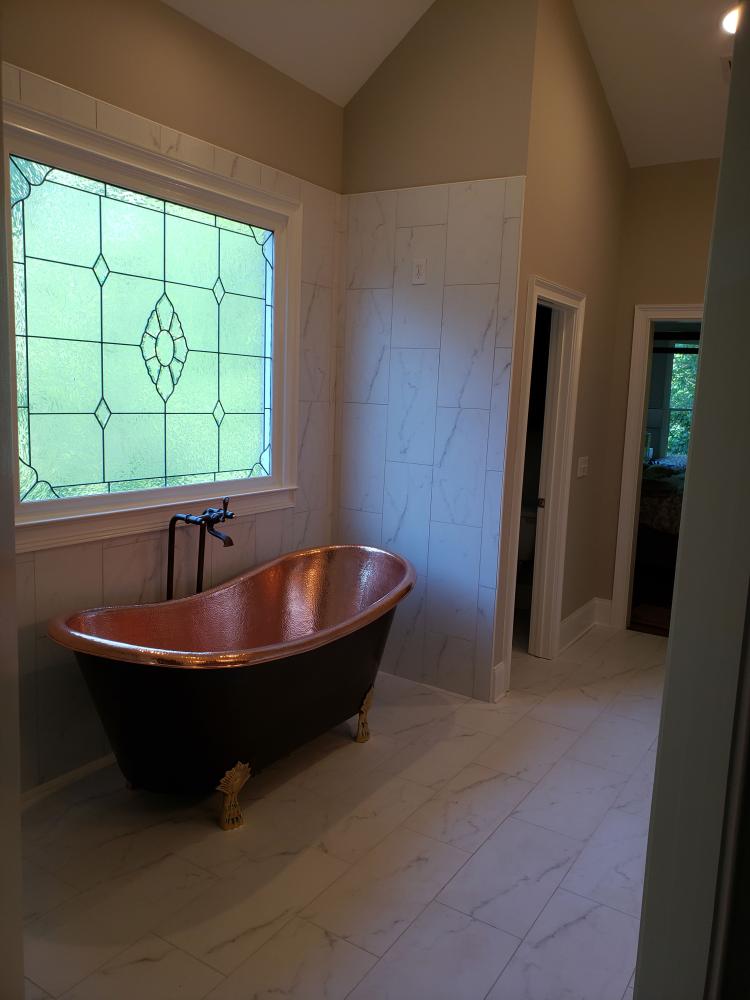
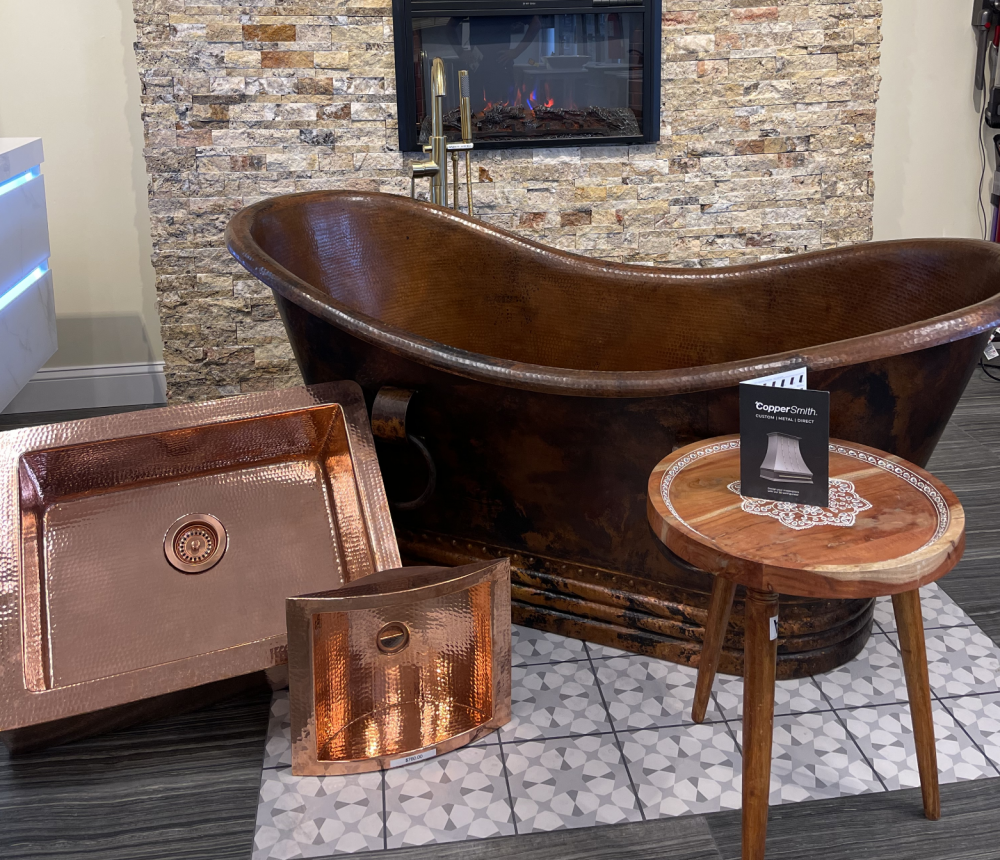
Soaking tubs offer a soothing place to sink into warm water and let your troubles melt away. They are an excellent addition to modern homes, and the right one installed correctly can increase your home’s value. The craftspeople at CopperSmith share how to install a soaking tub with step-by-step guidance and tips to help you achieve a great result.
How to Install a Soaking Tub: A Step-by-Step Guide
Before you get started, be sure you fully understand each of these steps and that you have the correct tools for the job.
1. Check Your Home’s Structural Integrity
Before you do anything else, be sure to assess the capacity of your flooring to support a soaking tub. Why does this matter? Let’s take a look.
A large, 72-inch soaker tub can hold as much as 100 gallons of water. You’ll probably put less in there, but you have to plan for the maximum capacity. Each gallon weighs approximately 8.3 pounds, so you are over 800 pounds concentrated in a small footprint. Add in the weight of one or two average adults, and you are closing in on 1,000 pounds if you haven't exceeded it. And that figure does not include the weight of the empty tub.
Many household floors are not designed to accommodate this type of load. If you are renovating an existing house that does not already have a soaking tub, you should consult an engineer about whether the floor requires reinforcement.
2. Measure the Tub and All Plumbing
You do not want to start the installation, place your tub in the desired spot, and then find out it doesn’t fit. Take measurements of the tub, its drain location, and how it aligns with the existing plumbing. This is also a great time to look through the installation guide for your customized bathtub.
3. Gather Your Tools
The next step is to gather all of the tools and supplies you’ll need for the installation. Double-check that you have everything on hand before you get started to avoid interruptions. It is also a good idea to dry-fit the drain fixtures to ensure they are compatible.
You only need a few basic tools to install a freestanding soaker tub, including:
-
Blocks of wood
-
Box cutter
-
Drain kit
-
Level
-
Moving blanket
-
Silicone
-
Tape Measure
-
Wrench
It is helpful to have a few lifting straps. They can help you place the tub without scratching the floor or walls. Also, try to keep your installation manual on hand for reference throughout the process.
4. Prep the Bathroom and Floor
Since you have already addressed what is underneath the floor, now it’s time to look at the floor’s surface. Check it for level, and note any deviation. You’ll need to adjust for that later with leveling feet or shims.
Go ahead and clean the floor thoroughly. You won't have access to the underside of the tub again, so make sure you get everything. Wipe down the tub inside and out and remove any debris from the drain opening.
Then, cover any bathroom furniture and fixtures with the moving blanket. This will protect them from scratches or chips while you install the soaking tub.
5. Prep the Tub
Placing a premium freestanding bathtub can be a challenge because of its size and weight. You can make it easier by using a couple of pieces of sturdy 4 X 4 lumber.
Place the wood where you want the tub to go. Then carefully lower the tub onto them. A strong helper or two and heavy-duty lifting straps will help with this. Use the elevated position to line up the drain with your existing plumbing and prep it for the final installation.
You are now ready to install the drain and prepare to connect it to the floor. With the tub resting on the lumber, carefully clean any debris from the drain and screen. Then lubricate the drain hub’s foam gasket and put a small amount of silicone on it to prevent leaks. Place the gasket over the strainer and secure it with the nut.
Before you move any further, close the drain and add a gallon or two of water. Check for leaks. Tighten the drain if you notice any. If everything looks good, connect the brass tailpiece to your house plumbing. Fill the tub and perform one more leak check before placing the tub.
6. Place and Connect the Bathtub
Take a few minutes to verify that any leveling feet are adjusted or that you have shims in place. When you are ready, carefully lift the tub, remove the pieces of lumber, and set it into place. Allow the tailpiece to slide inside your plumbing, maintaining precise alignment. You can check for level and caulk where the bathtub meets the floor to complete the installation.
FAQ About How To Install a Freestanding Tub
Our support team is available to answer your questions about how to install a soaking tub. Here are some of the ones we hear most often.
How Hard Is It to Install a Soaking Tub?
While it seems that installing a soaking tub is relatively straightforward, it is often best left to professionals. However, you can take it on yourself with solid plumbing skills and a few helpers.
How Far From the Wall Should a Soaker Tub Be?
A good rule of thumb is to keep your soaker tub at least five inches from any adjacent walls. Leaving 6 to 12 inches will make it easier to keep the bathtub and the space around it clean.
Do You Need to Reinforce the Floor for a Soaking Tub?
Your home’s construction will dictate whether reinforcement is needed. Many older homes will need additional support to hold the weight of a customized soaker tub. If you have any doubts, consult an engineer before you install one.
How to Install a Soaking Tub to Transform Your Bathroom
CopperSmith bathtubs are customizable works of art. You can choose your finish, texture, and size to ensure that your new bathtub is the perfect addition to your home. Our team provides installation instructions for how to install a soaking tub with each one. Contact CopperSmith to bring your dream bathroom to life.